Beemax 1/20 1984 McLaren MP4/2 Part 3 - More Body Prep
Beemax/Aoshima 1/20 Plastic Kit
I started by giving the body a quick coat of Tamiya Grey Liquid Surface Primer, thinned and shot through my airbrush to see how the putty had sanded down, and also to check for other areas of imperfection I’d missed. It’s easy to miss seam lines on white plastic bodies.
The first thing I saw was that the head rest area was not very smooth and flush. It’s almost as if the Bondo filler had shrunk, when it theoretically shouldn’t.

I sanded it down once more and we’ll see what it looks like after the next coat of primer.
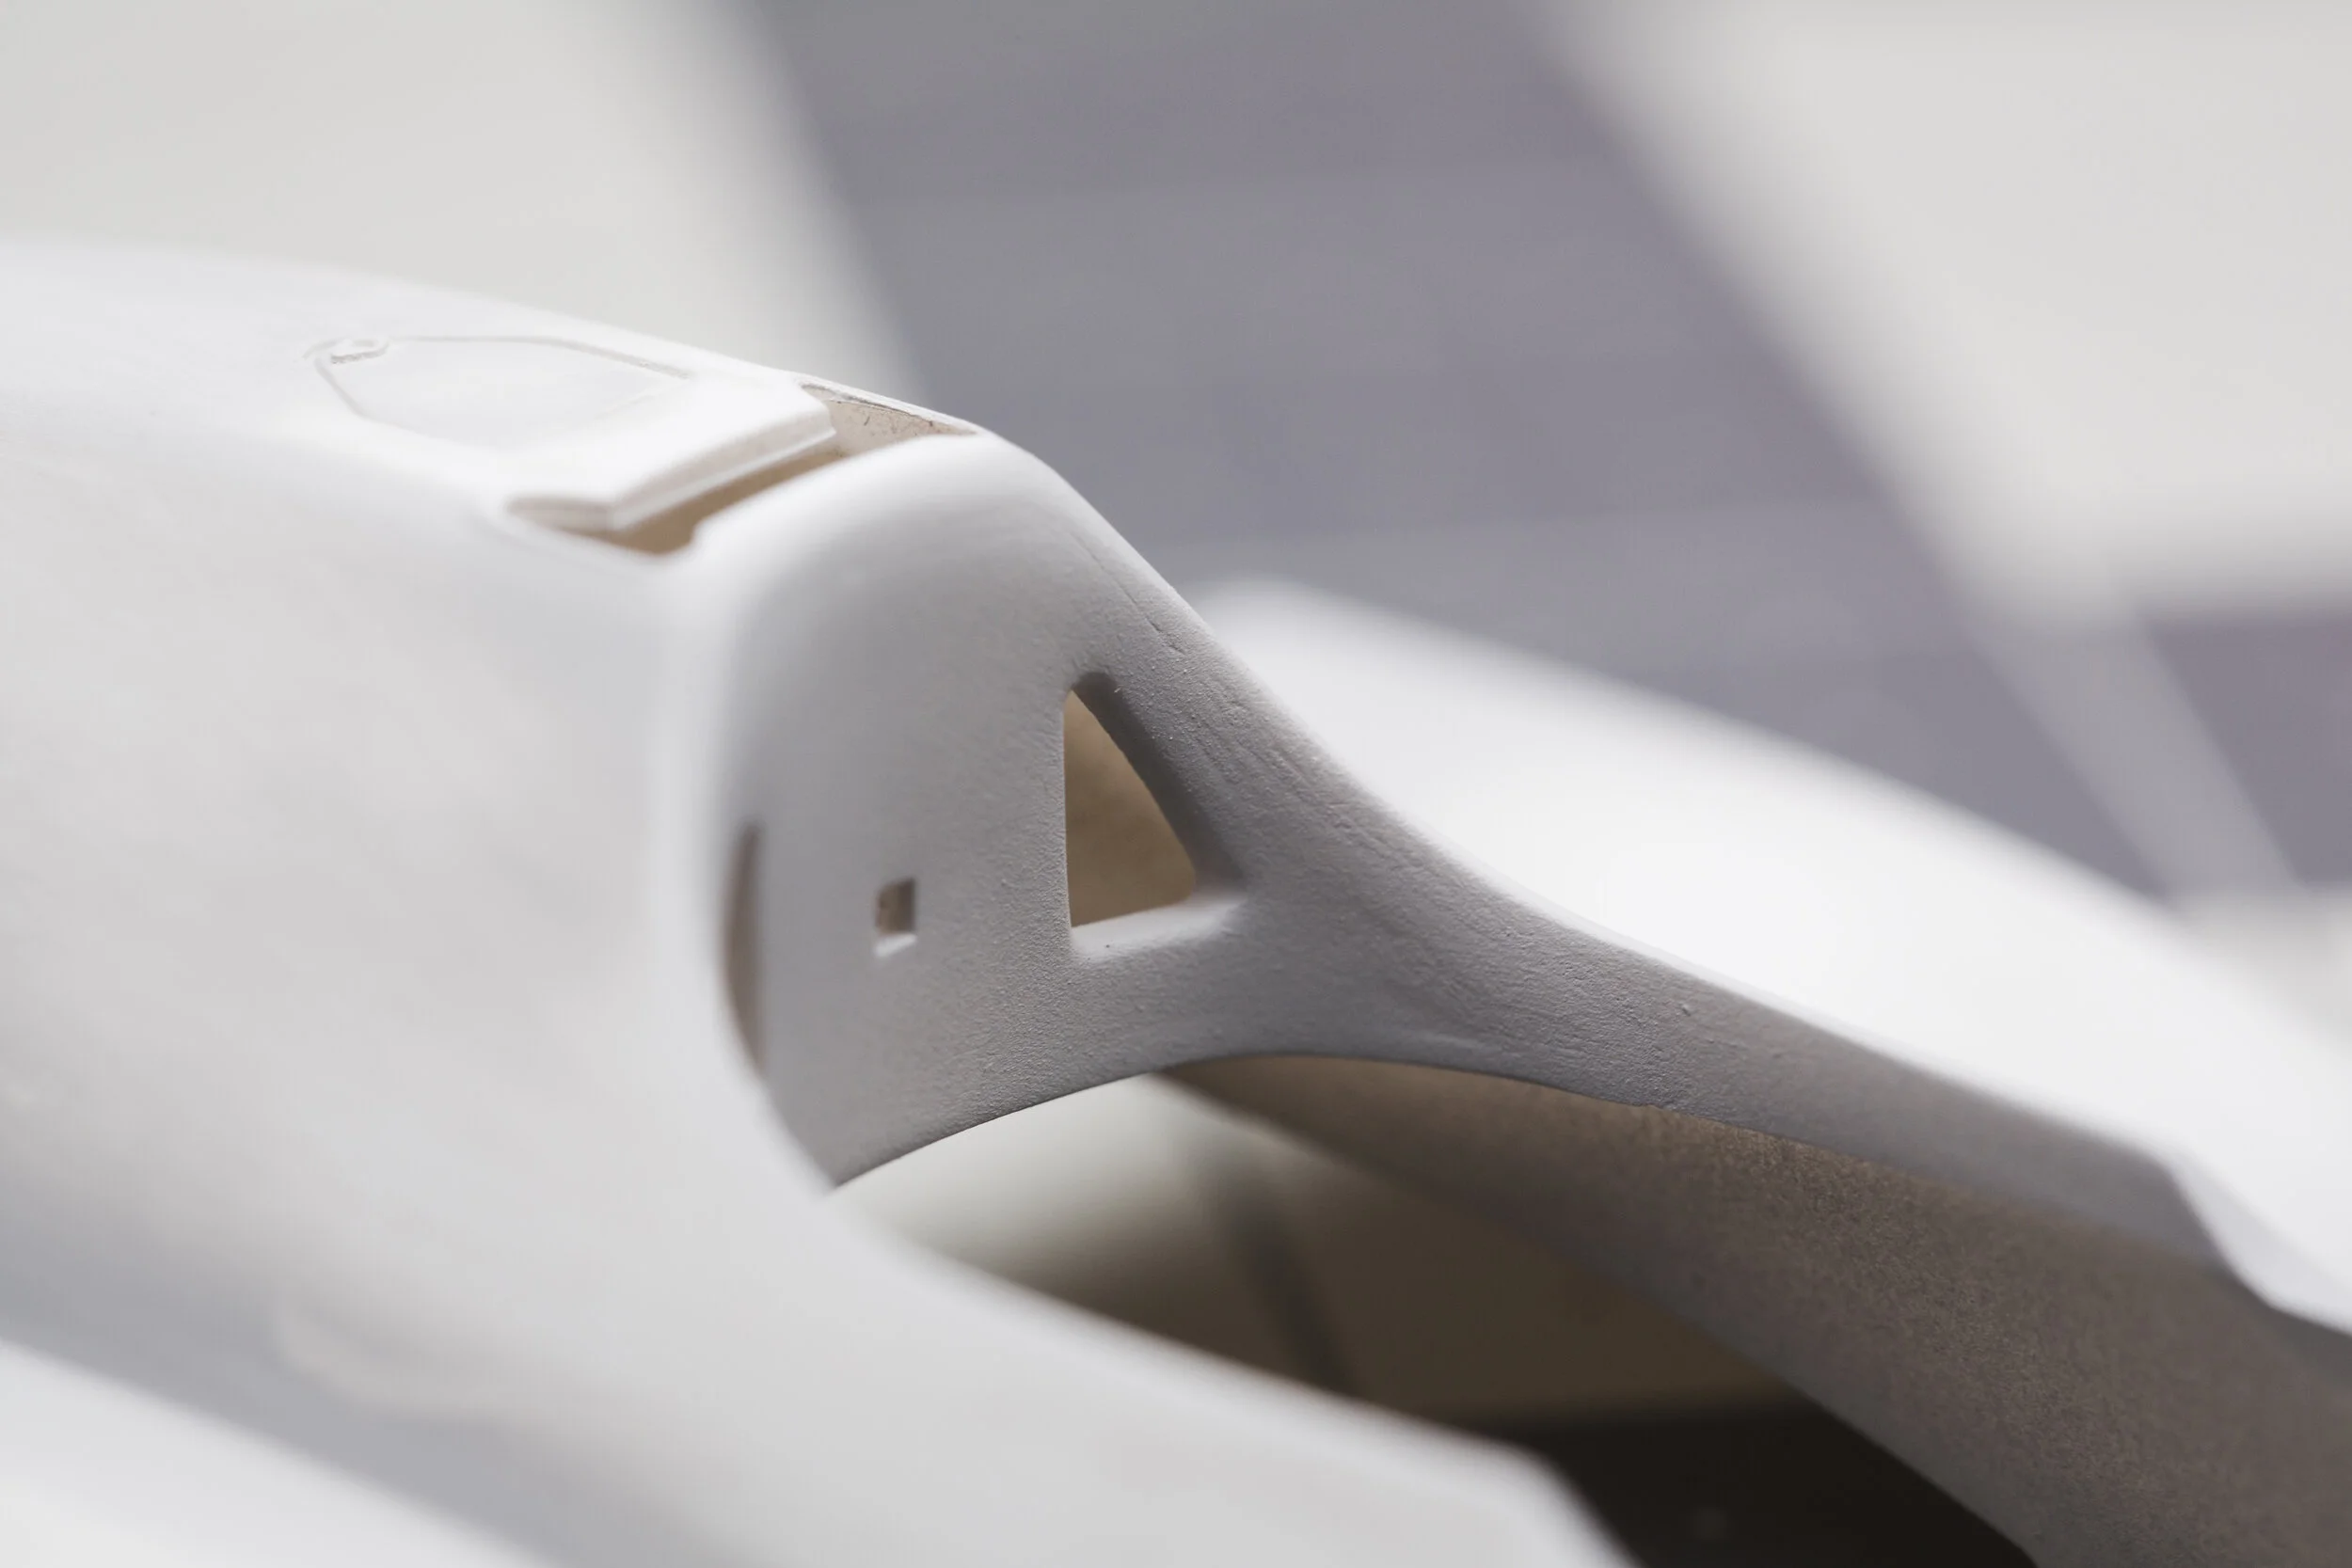
The engine cover is quite thick so I’ll taper the ends of the cowling down to give the illusion of thinness. The inside will be painted black, making this effect more apparent. In the photo below, the left side is thinned and the right side is out of the box thickness.
I did a complete sand-down of the first coat of primer just to start smoothing things out.


Rear wings are always difficult to assemble, but there are only a handful of years that have wings more complicated than those of 1984. 12 Wing elements, and each with all of these ejector pin marks to fill:
To be continued…