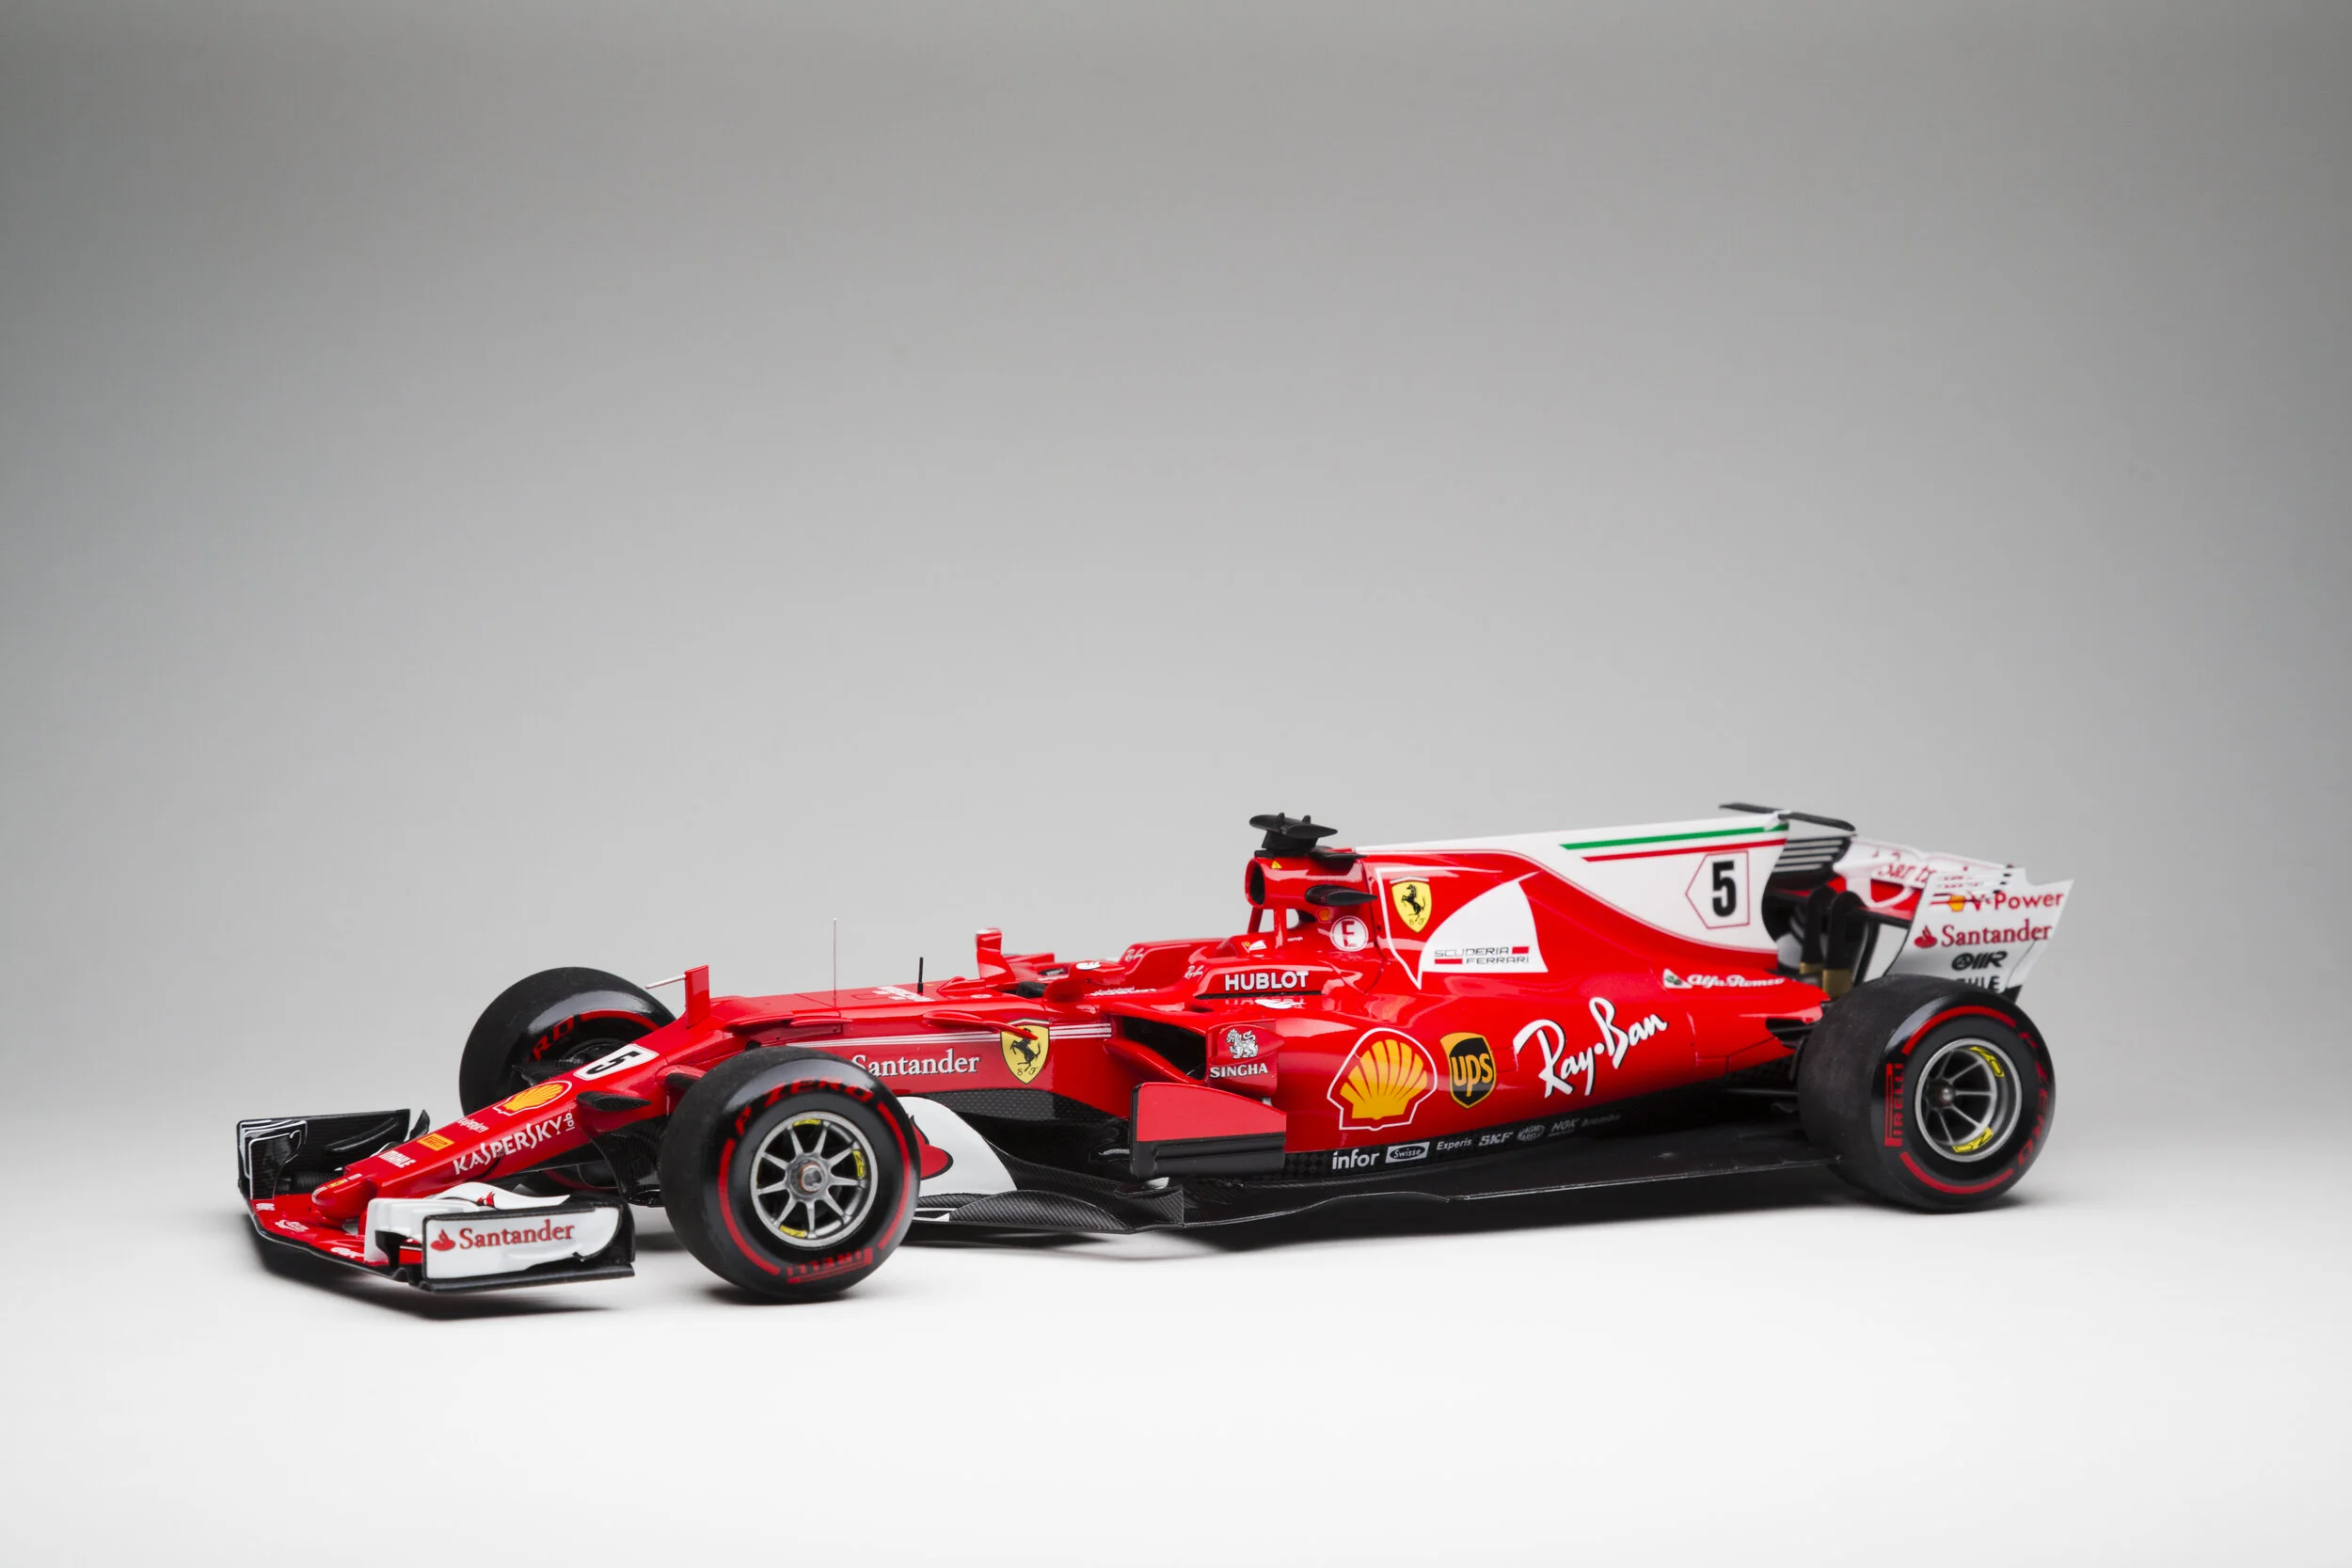
Tamiya 1/20 Ferrari SF70H Build
Tamiya 1/20 scale plastic kit.
This build was my second completed model kit which spanned June -September of 2018. I have reposted my original WIP thread here.
The fit of all of the parts are spot on, but it's quite complex for painting. Add that to the fact that I'll be using the Studio 27 CF decals and planning ahead is quite complicated.
Filling the ejector pin markings as best I can - not bothering to do a perfect job as it'll be covered with CF decals anyways.
First thing to do is to paint the inside black - there won't be good access once the body parts are glued together. Much easier to just mask the cockpit when painting the body.


I puttied the seams along the edges of the body and sharkfin, as well as blended the sidepod wings.

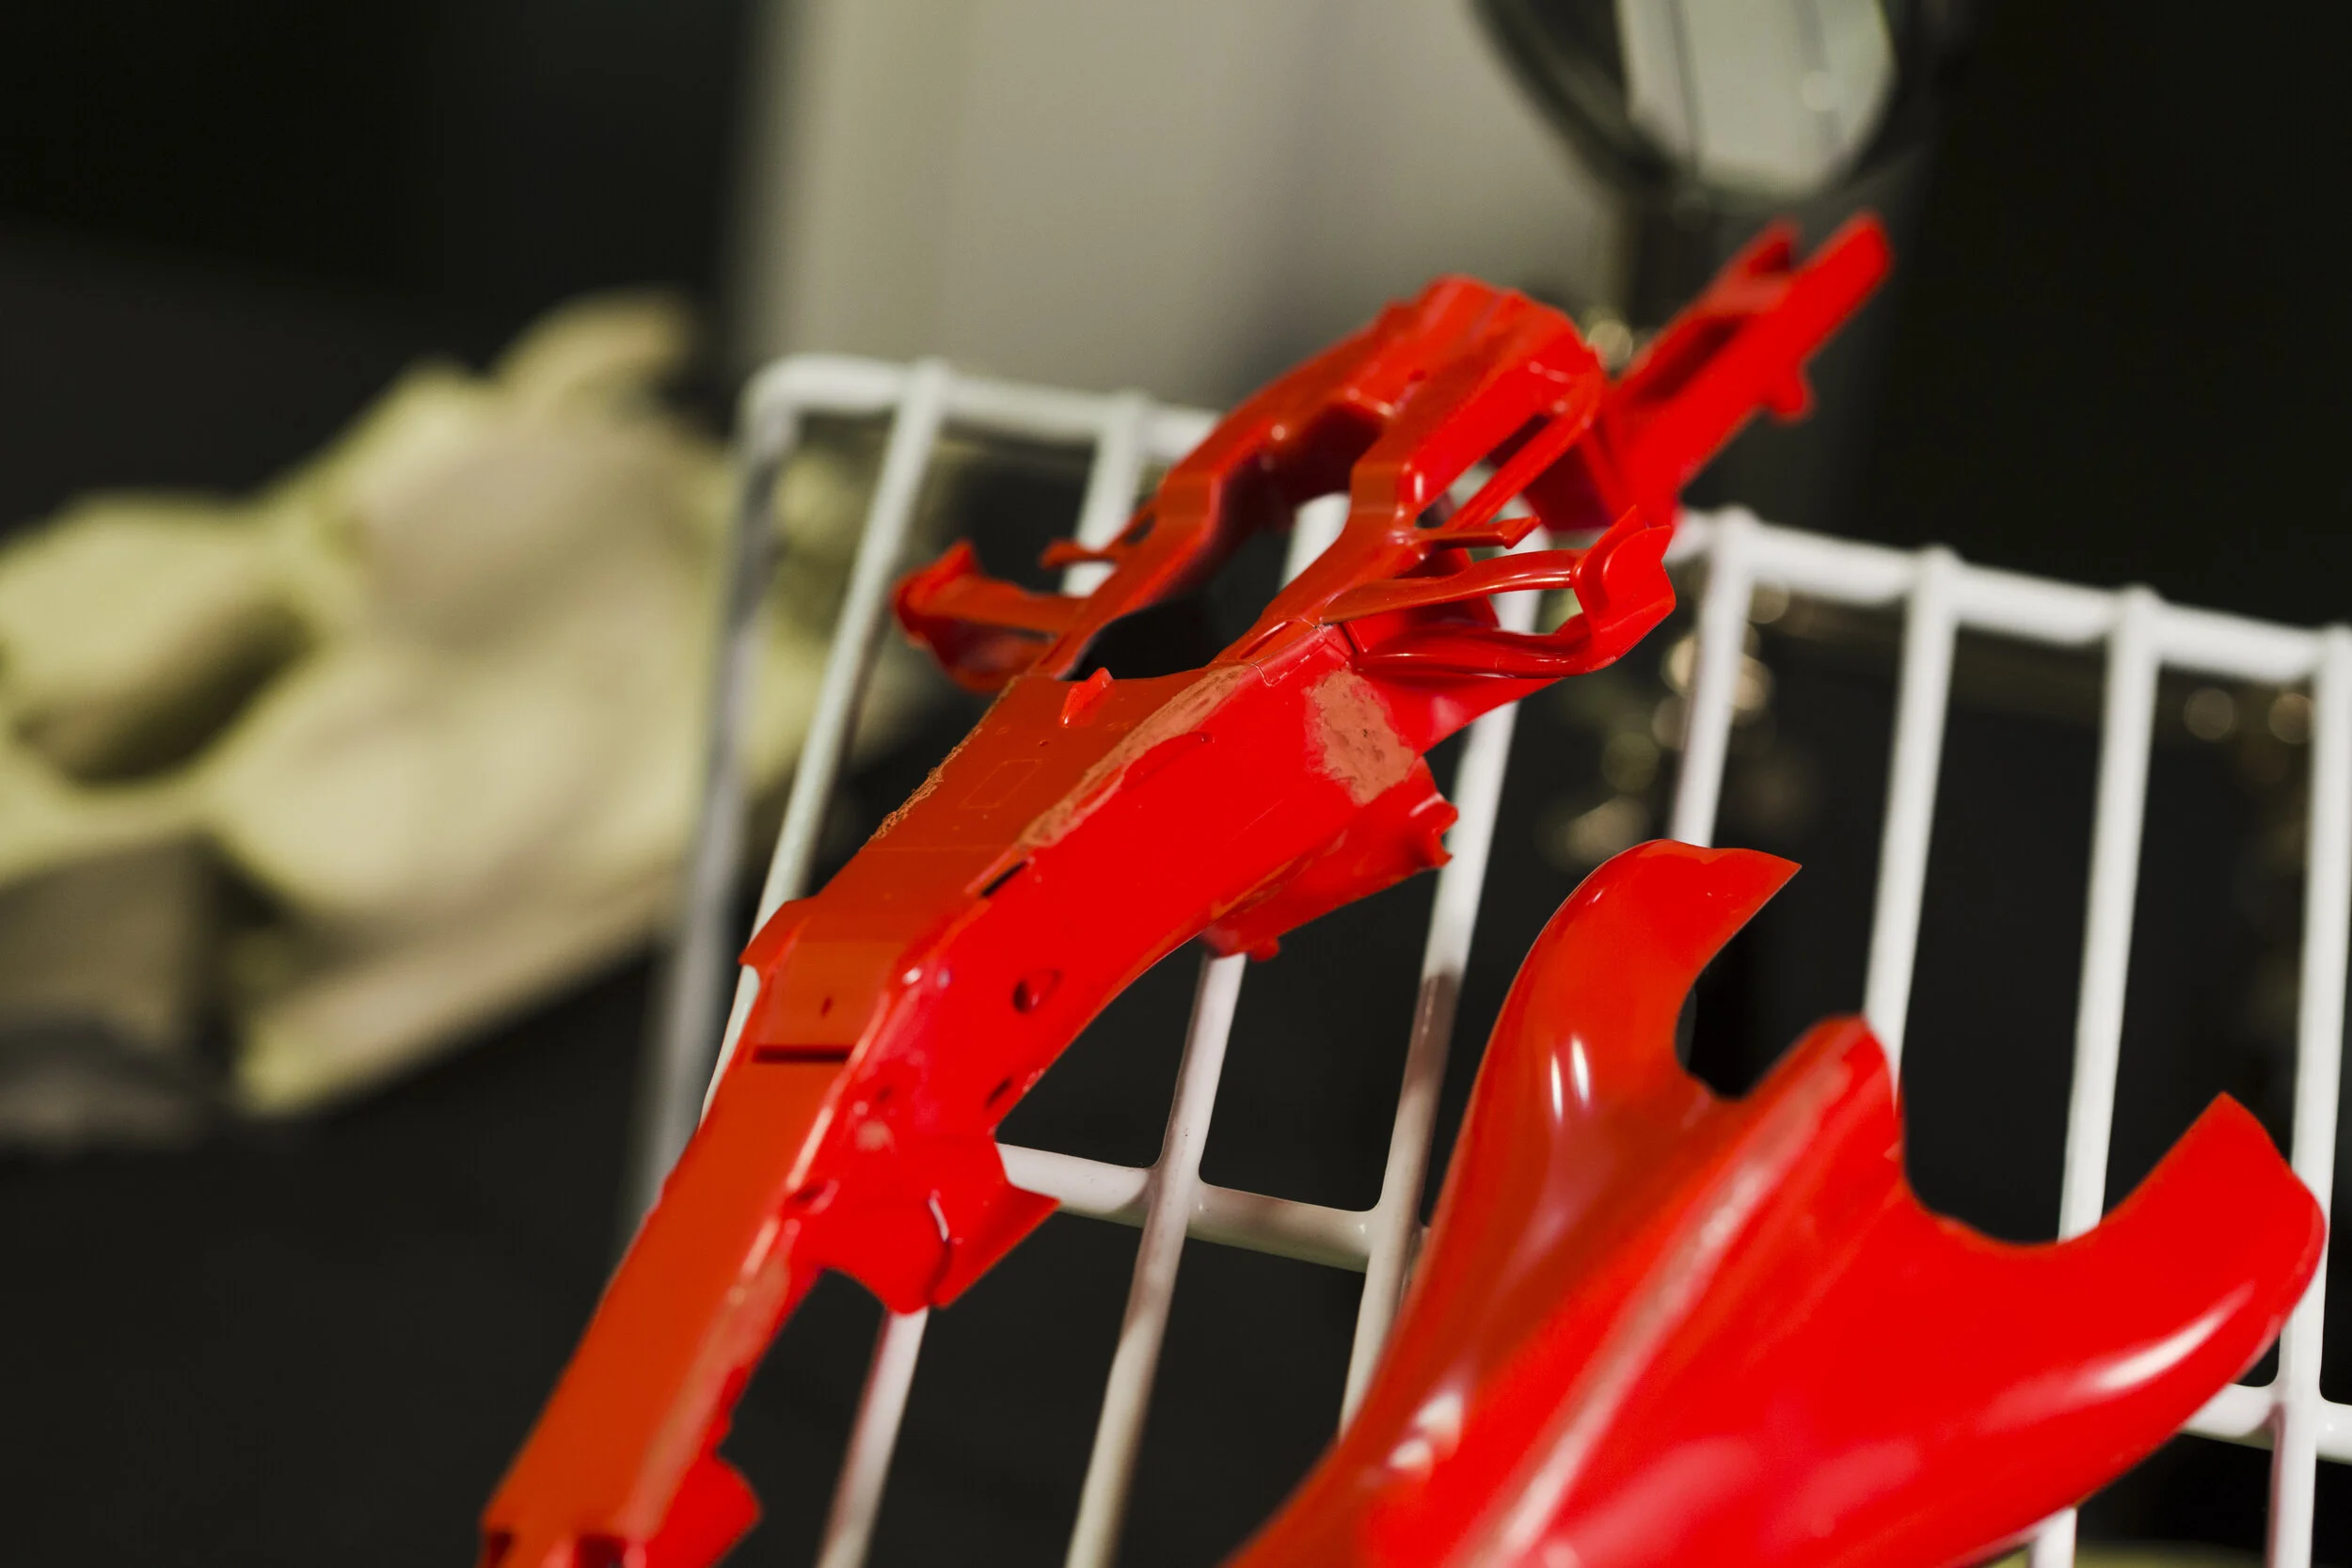
I also attached the front wing mounts, S-duct cover, and flow conditioners. Getting even coverage of paint will be difficult but critical. I think this is the state I'll be painting in.


I'd like to attach the air intake as well since this seems like the component with the worst fit in the kit so far (doesn't really sit flush with the body) and it leaves a big panel line that shouldn't be there, but I'm worried that attaching it along with the two little wing mounts would make painting very difficult.
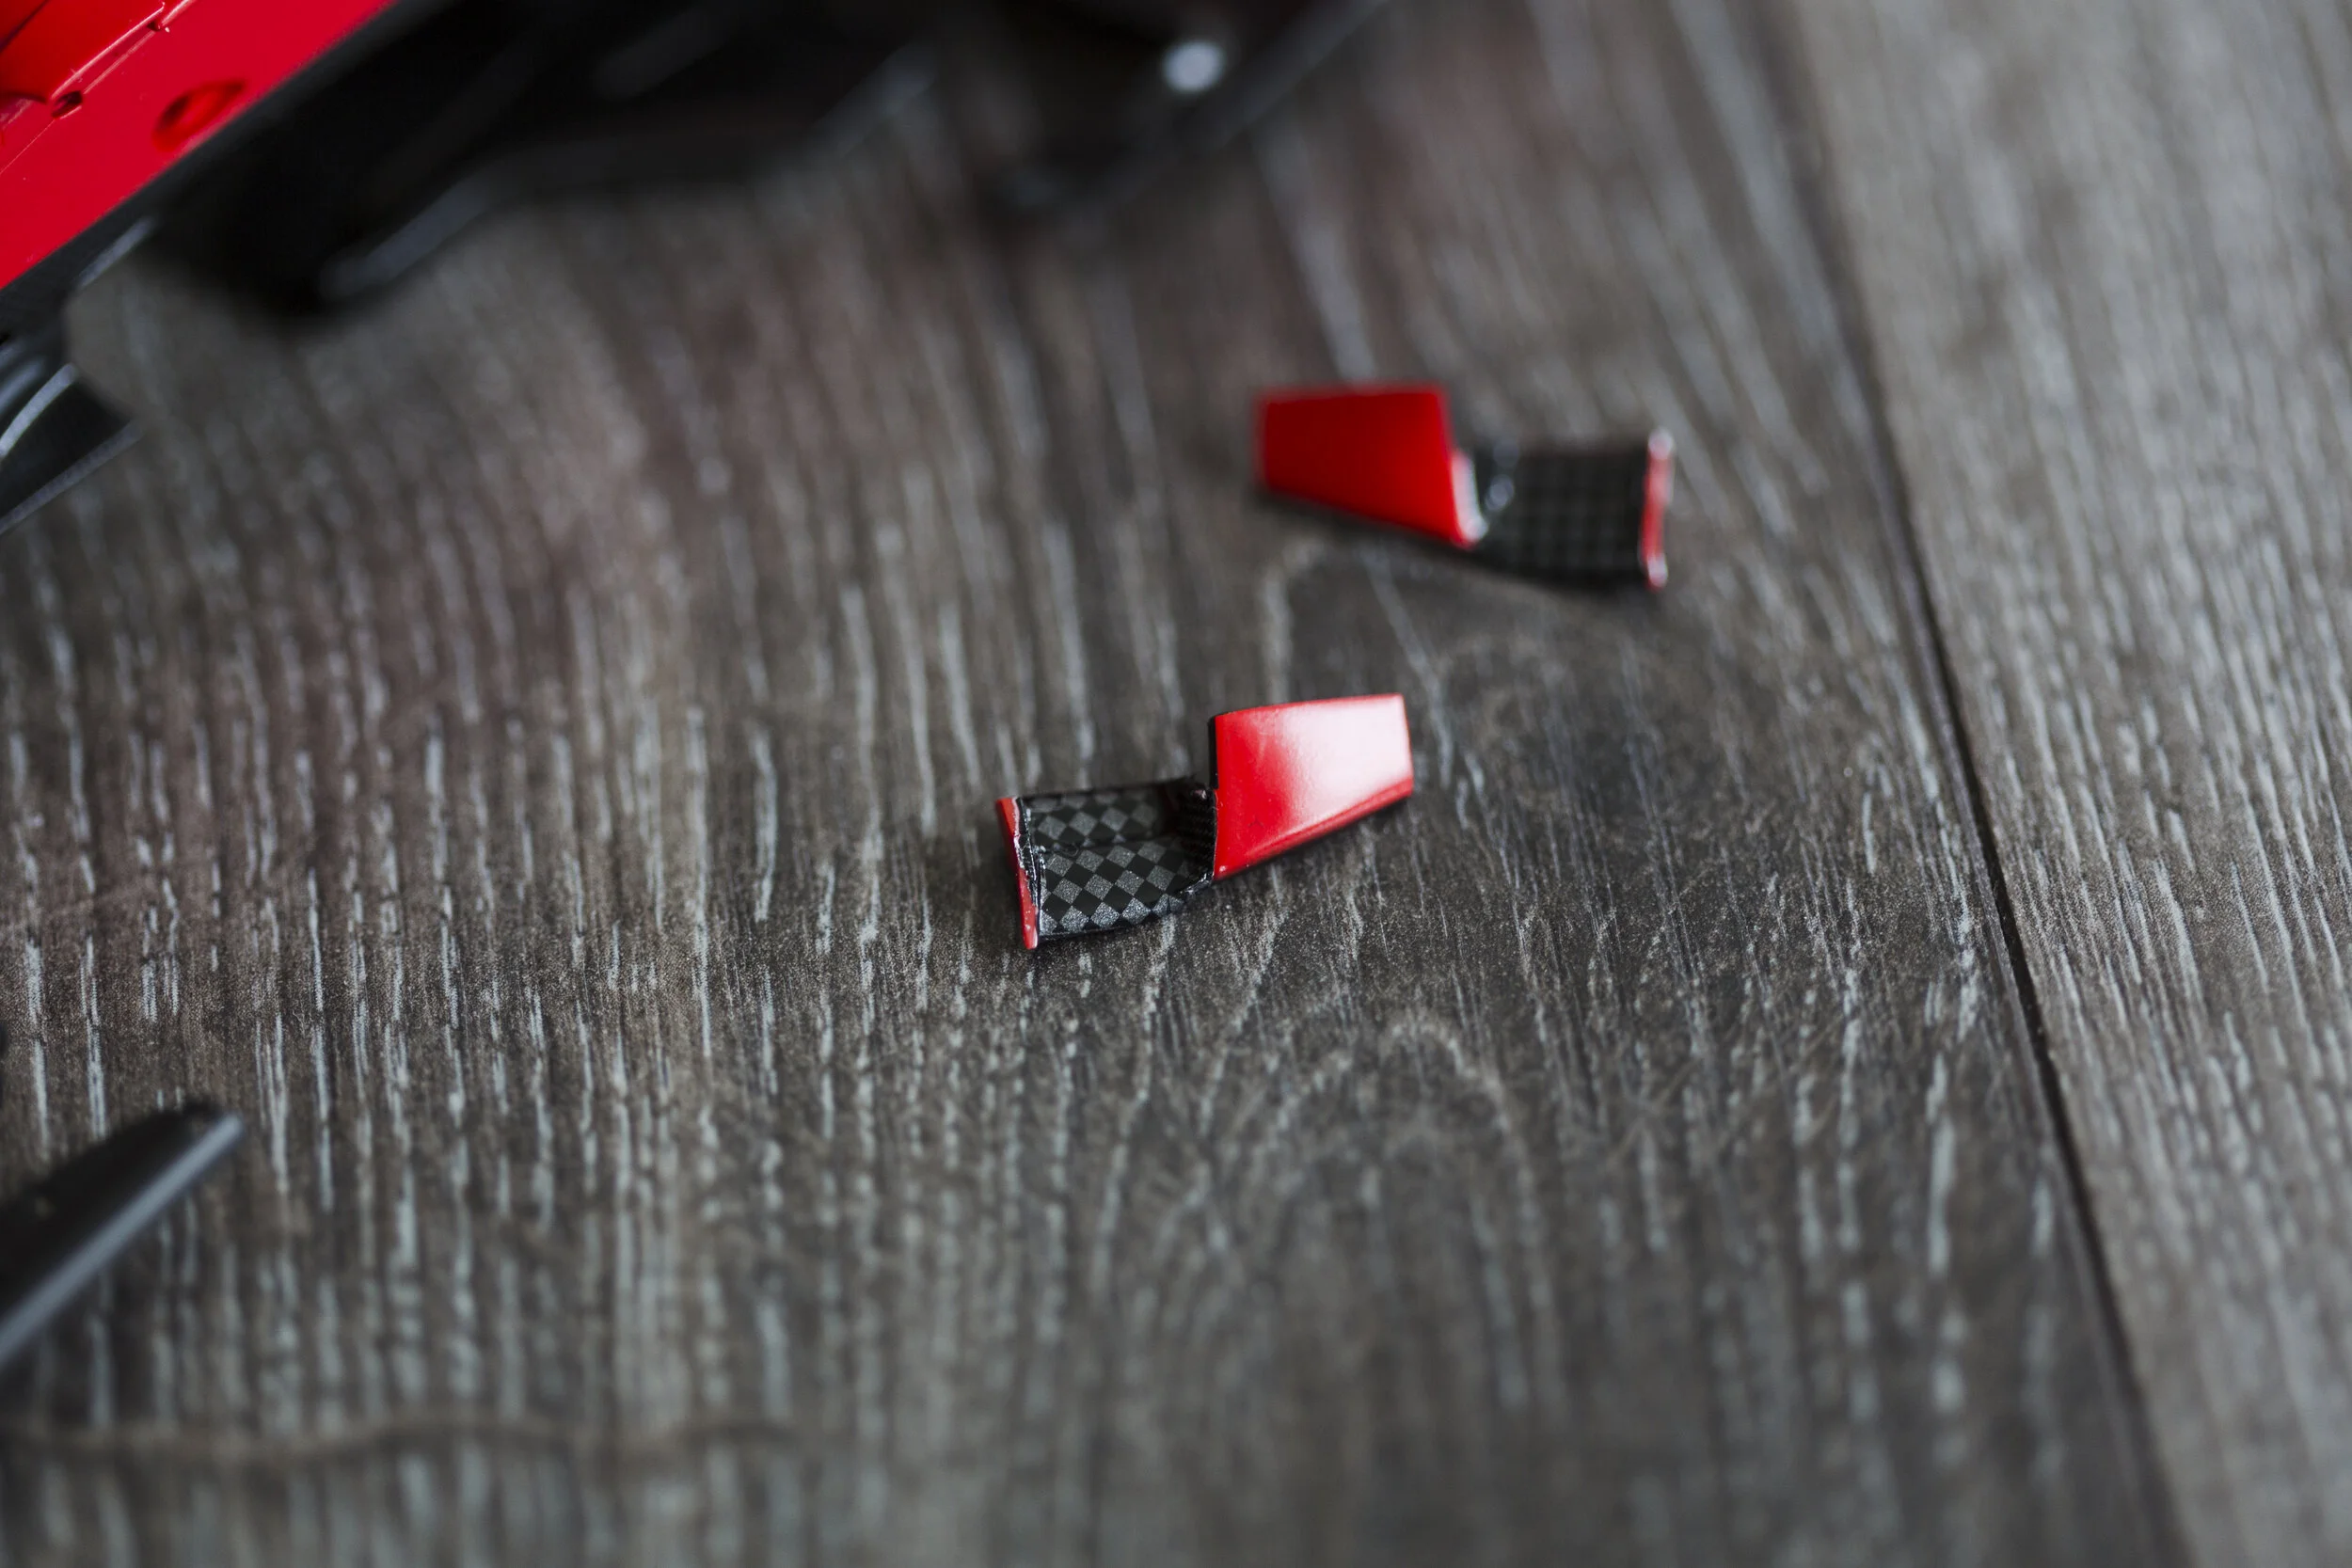
Comparing the carbon decals between those provided by Tamiya (bottom) and Studio27 (top). I prefer the Studio27 ones as they have small metallic particles in it, which I believe will catch the light in a way that real carbon does.
I cut a little piece out of the main floor decal to be applied later over a separate piece that's supposed to be painted red. This way I can keep the floor sub-assembly consisting of only black painted parts.


I want to seal the decals and I guess I'll use Alclald light sheen, but honestly I really like the level of shine the decals have by themselves. Seems pretty similar to real life carbon fibre: Glossy, but the texture is slightly disturbed by the shape of the carbon weave. Maybe I can do a light textured layer of some kind of gloss clear. We'll see.
I don't have too many pictures of the gearbox process, but I sprayed it black, and masked for the gold and silver sections. I also shot Alclad highly polished aluminum on the exhaust. Finally, I applied the carbon decals. I'll be heat staining the exhaust with Tamiya pigments eventually.
The provided masks were surprisingly hard to position properly. Still easier than making your own masks though. I absolutely hate masking I'm simply rubbish at it right now.
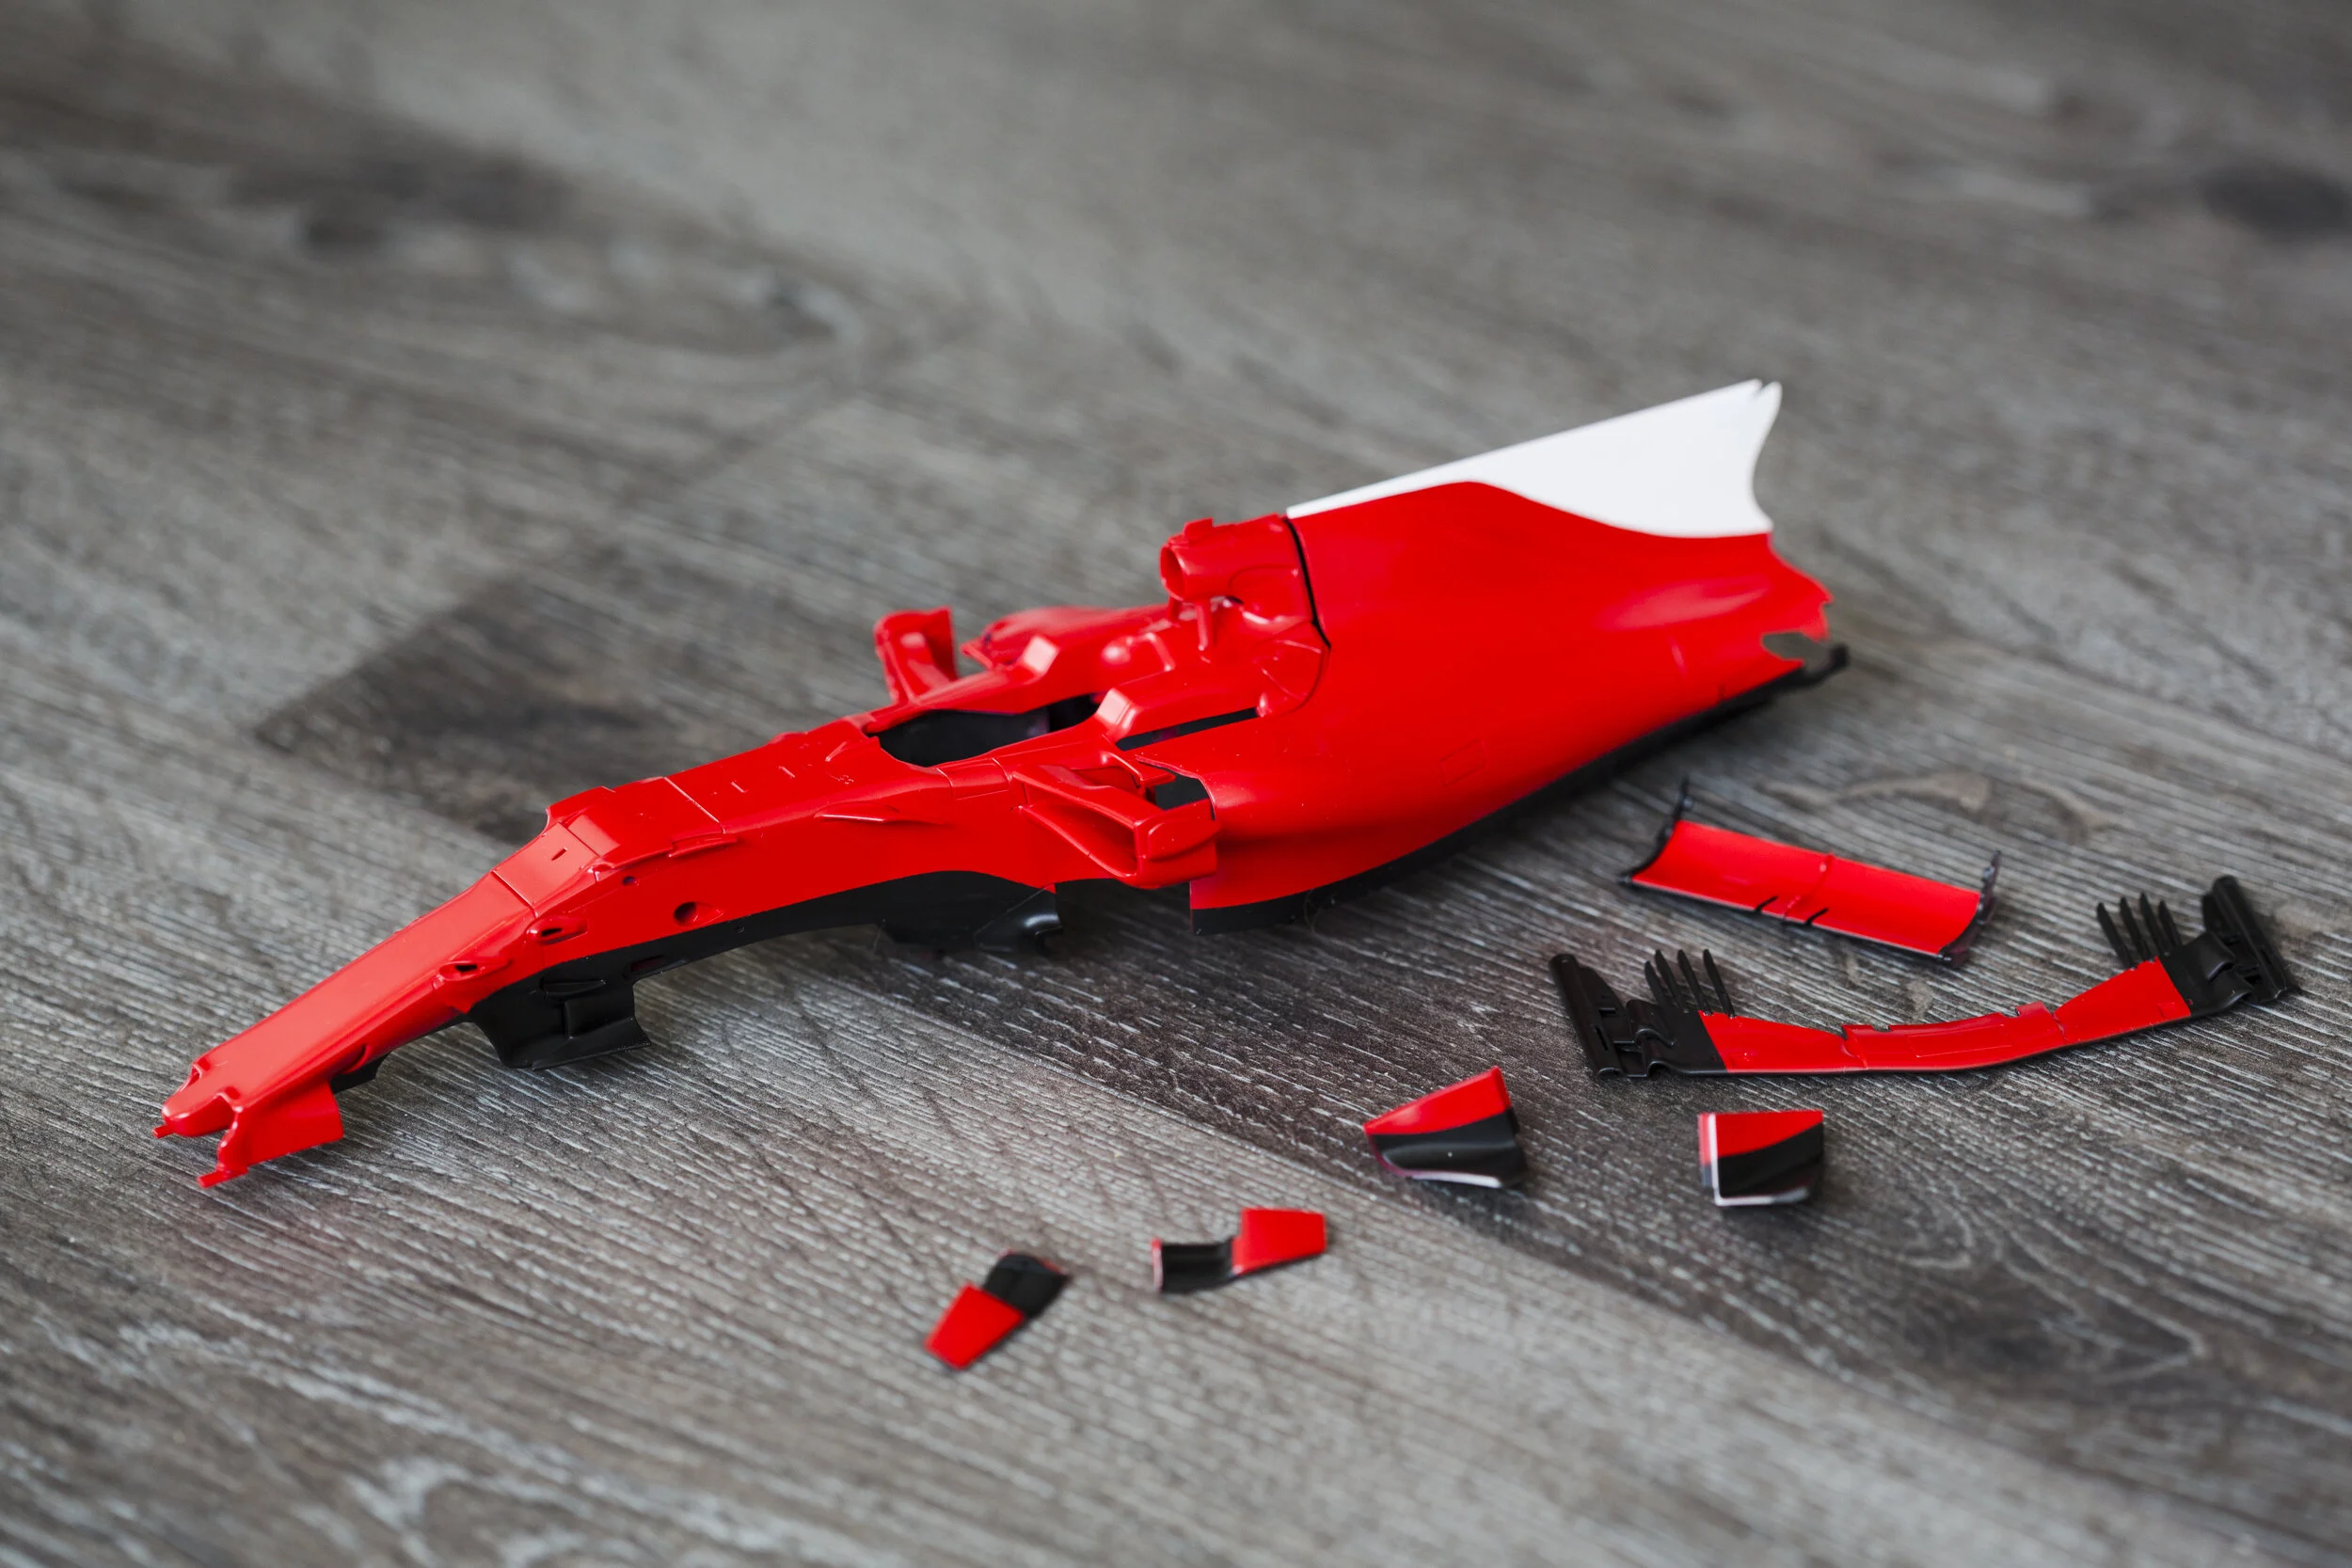
After some 5 - 6 layers of Zero Paints SF70H red:
And then the body must be masked again to paint a black base for the carbon fibre.


The end result of the previous step:


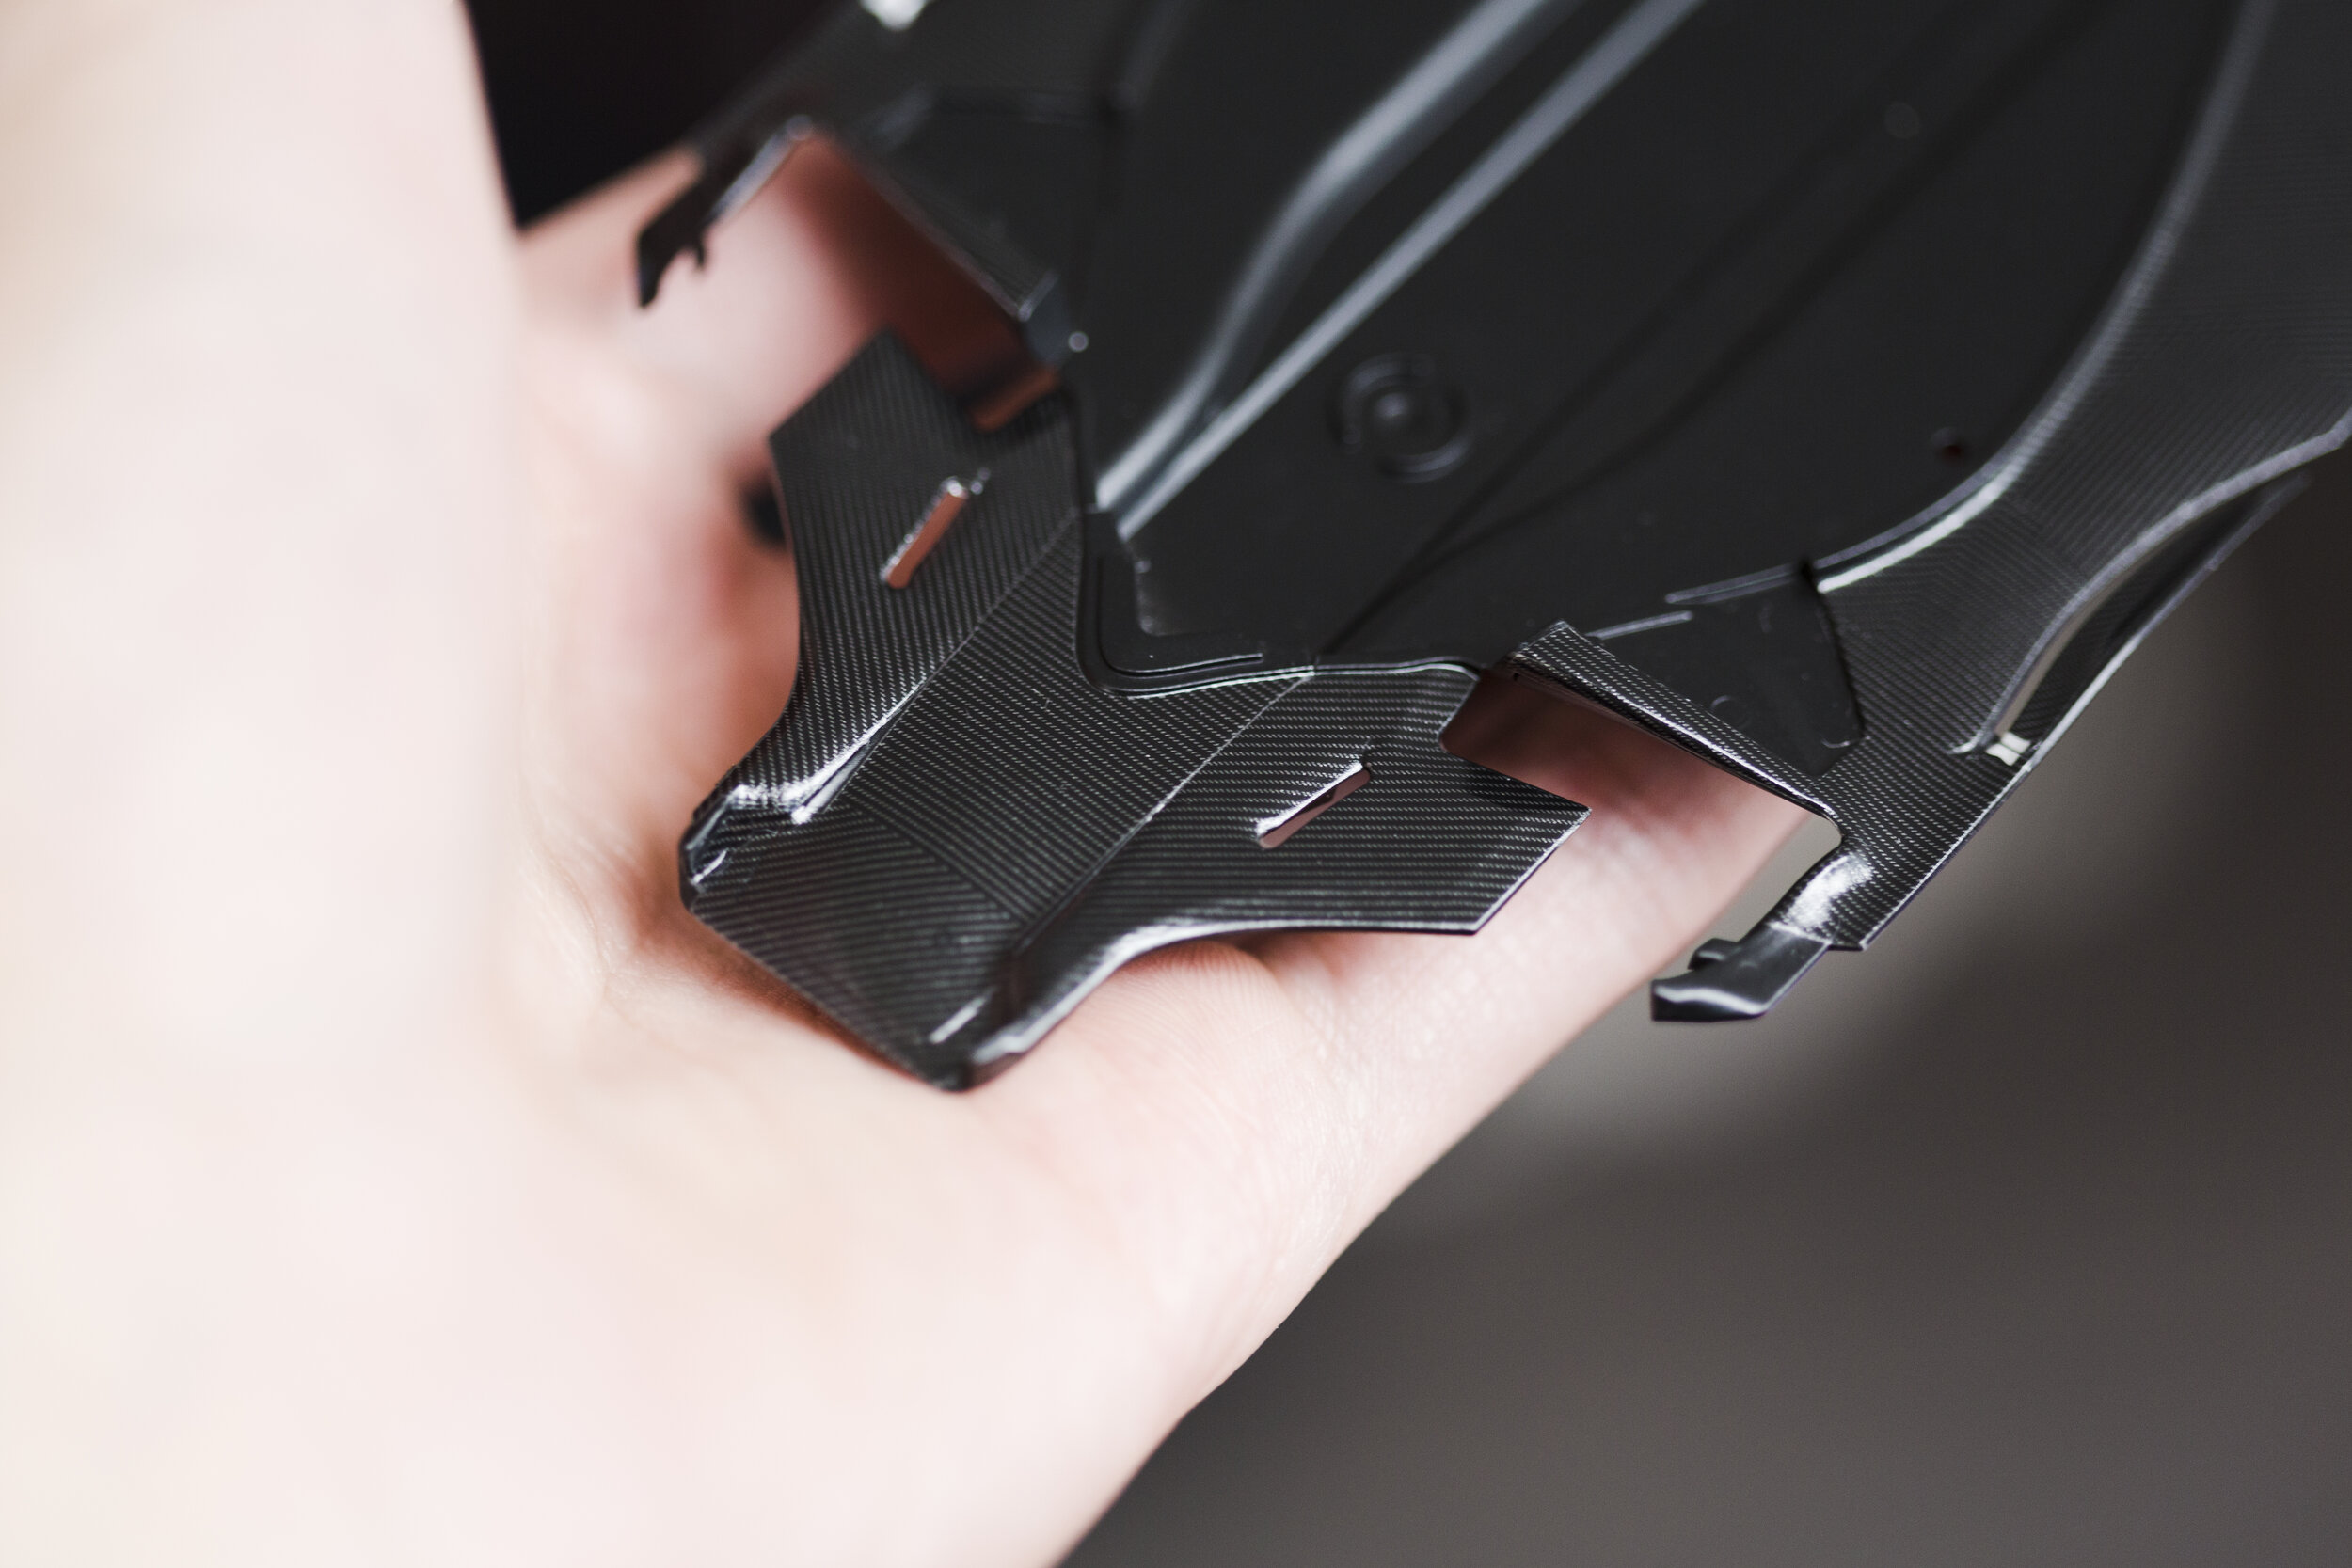
Some 50 carbon decals just for the main body components. Many, many hours non-stop. For a first time doing carbon decals and only my 4th model, I sure picked a hell of a kit to start using carbon decals. How would I describe the experience? Harrowing. Stressful. Not fun. You can't deny the end results though…


The turning veins were definitely the hardest decals to apply. Complex shapes, double sided. I couldn't tell if the fit was a bit off or just my skills were lacking.I think they ended up turning out fine though.
I didn't take any pictures of the sidepod carbon decals, but it wasn't too much harder to apply them when the sidepods were glued to the body (the instructions suggest painting and decaling before attaching to the main body).
You may have also noticed that I'm not applying decal over clear. The reason is that I've done a few test fits here and there, and found that the super tight tolerances are making the kit harder and harder to assemble with every layer of paint. From this point on I'd like to avoid unnecessary coats where I can avoid them. I also think I might try using Alclad Aqua gloss for the final clear, since it's much easier to polish than 2K. I've also managed to achieve great shine on a plastic spoon with Aqua Gloss. There are so many tight corners on this car I'm worrying about how difficult it would be to correct any mistakes with something as hard as 2K.
In the coming few days I'll be applying regular body decals, and spraying more stuff black. This is definitely one of those kits where you can make a lot of progress, look at what's left in the box and realize that you've still got so far to go.


This bottom front wing element has something like 27 CF decals by itself.


The rear brake drums (not pictured) and front brake ducts (pictured) have been the biggest pains so far. Ended up with a few breaks and folds that annoy me, but in the grand scheme of things aren't a big issue. I really don't like the way they designed the front brake duct pattern though, there ends up being a big seam in the middle of the air scoop.
I've also painted some white parts I didn't bother taking photos of.
I think I'll take a break from CF decals for a bit and work on livery decals instead just for the sake of my sanity. I picked up the Studio27/Tabu fill-ins since I really like the look of the vintage-styled large driver numbers the SF70H took on Monaco and later. I also like how they painted the sidepod deflectors half black in the later season. So it's a given I'll be fudging this model to look like a later season SF70H with paint and decals alone.
I ran into an issue when test fitting the gearbox into engine cowling. It requires that you gently widen the engine cowling to allow the gearbox in. The fit is so tight though, when I tried it, the two halves of the cowling split much to my dismay. I was able to glue it back with not much issue, although there is now a small seam running down the ride side near the shark fin. I'm hoping this will be less noticeable when I apply clear.
The endless decal process continues - probably another week or so until the decals are done. Undeniably coming together though:
I think the front wing CF decals are critical. Such a subtle look but it makes all the difference.
Big numbering used Monaco onwards, curtesy of Tabu.


The shell decals were not too cooperative, I ended up with some small folds on both sides. This was the worst though.
First round of 2K clear coat applied. There will hopefully be one more coat after removing imperfections and sanding down decal edges, so it's not at its full gloss yet. Also I forgot to point this out earlier but compare the red on the decal vs the Zero Paints SF70H paint on the engine cover. The paint is slightly darker than the decal, which to me is surprising since I sprayed over white primer. I personally don't care but I know a lot of people were wondering how well the paint matched the decal.


After applying 2K, I masked the parts to be painted black beneath the CF decals. A bit redundant but I did it to avoid any gaps caused by ill-fitting decals. You could probably get by without doing this though.
I was also worried that the rear wing end plate CF decals wouldn't settle well but to my surprise they actually went on very well!
Rims were painted with 2-3 layers of Alclad aluminum and I think they look great - not too bright. I opted to use the red Pirelli markings provided by the S27 fill-in decal sheet, as opposed to the kit dry transfers. They actually came out looking a lot better than I thought they would. I was worried the decals would eventually crack and/or peel off and Pirellis have that glossy sidewall so I applied Alclad Aqua Gloss on the sidewalls.


I finished applying the last of the CF decals (the feeling when the last decal was pressed and dried was a sense of relief I'd never experienced before) two days ago. Next step was to apply Alclad Light Sheen clear on the CF parts (Gearbox, suspension arms, airbox winglets, front & rear wing parts, etc.) This required RE-MASKING the parts I'd previously masked to paint black. Alclad light sheen is okay though, I think they're more matte than I'd like. I've found in past experience that it works a bit better going over gloss paint. It seemed that spraying over the CF decals gave it a bit more texture. Also I've found from my first RE30B that the clear never seems to fully cure so that's a big negative against Alclad Light Sheen.


I got some Alclad Hot Metal Blue and Pale Burnt Metal and decided to experiment on the exhaust effects, since 90% of this won't be seen anyway. I think it turned out really well! I'd only tried Tamiya pigments on my Renault RE30B so for a first time I'm super satisfied.
Gearbox/rear-suspension assembled; Front-end also assembled.


All that’s left before final assembly is the racing harness and seat now.

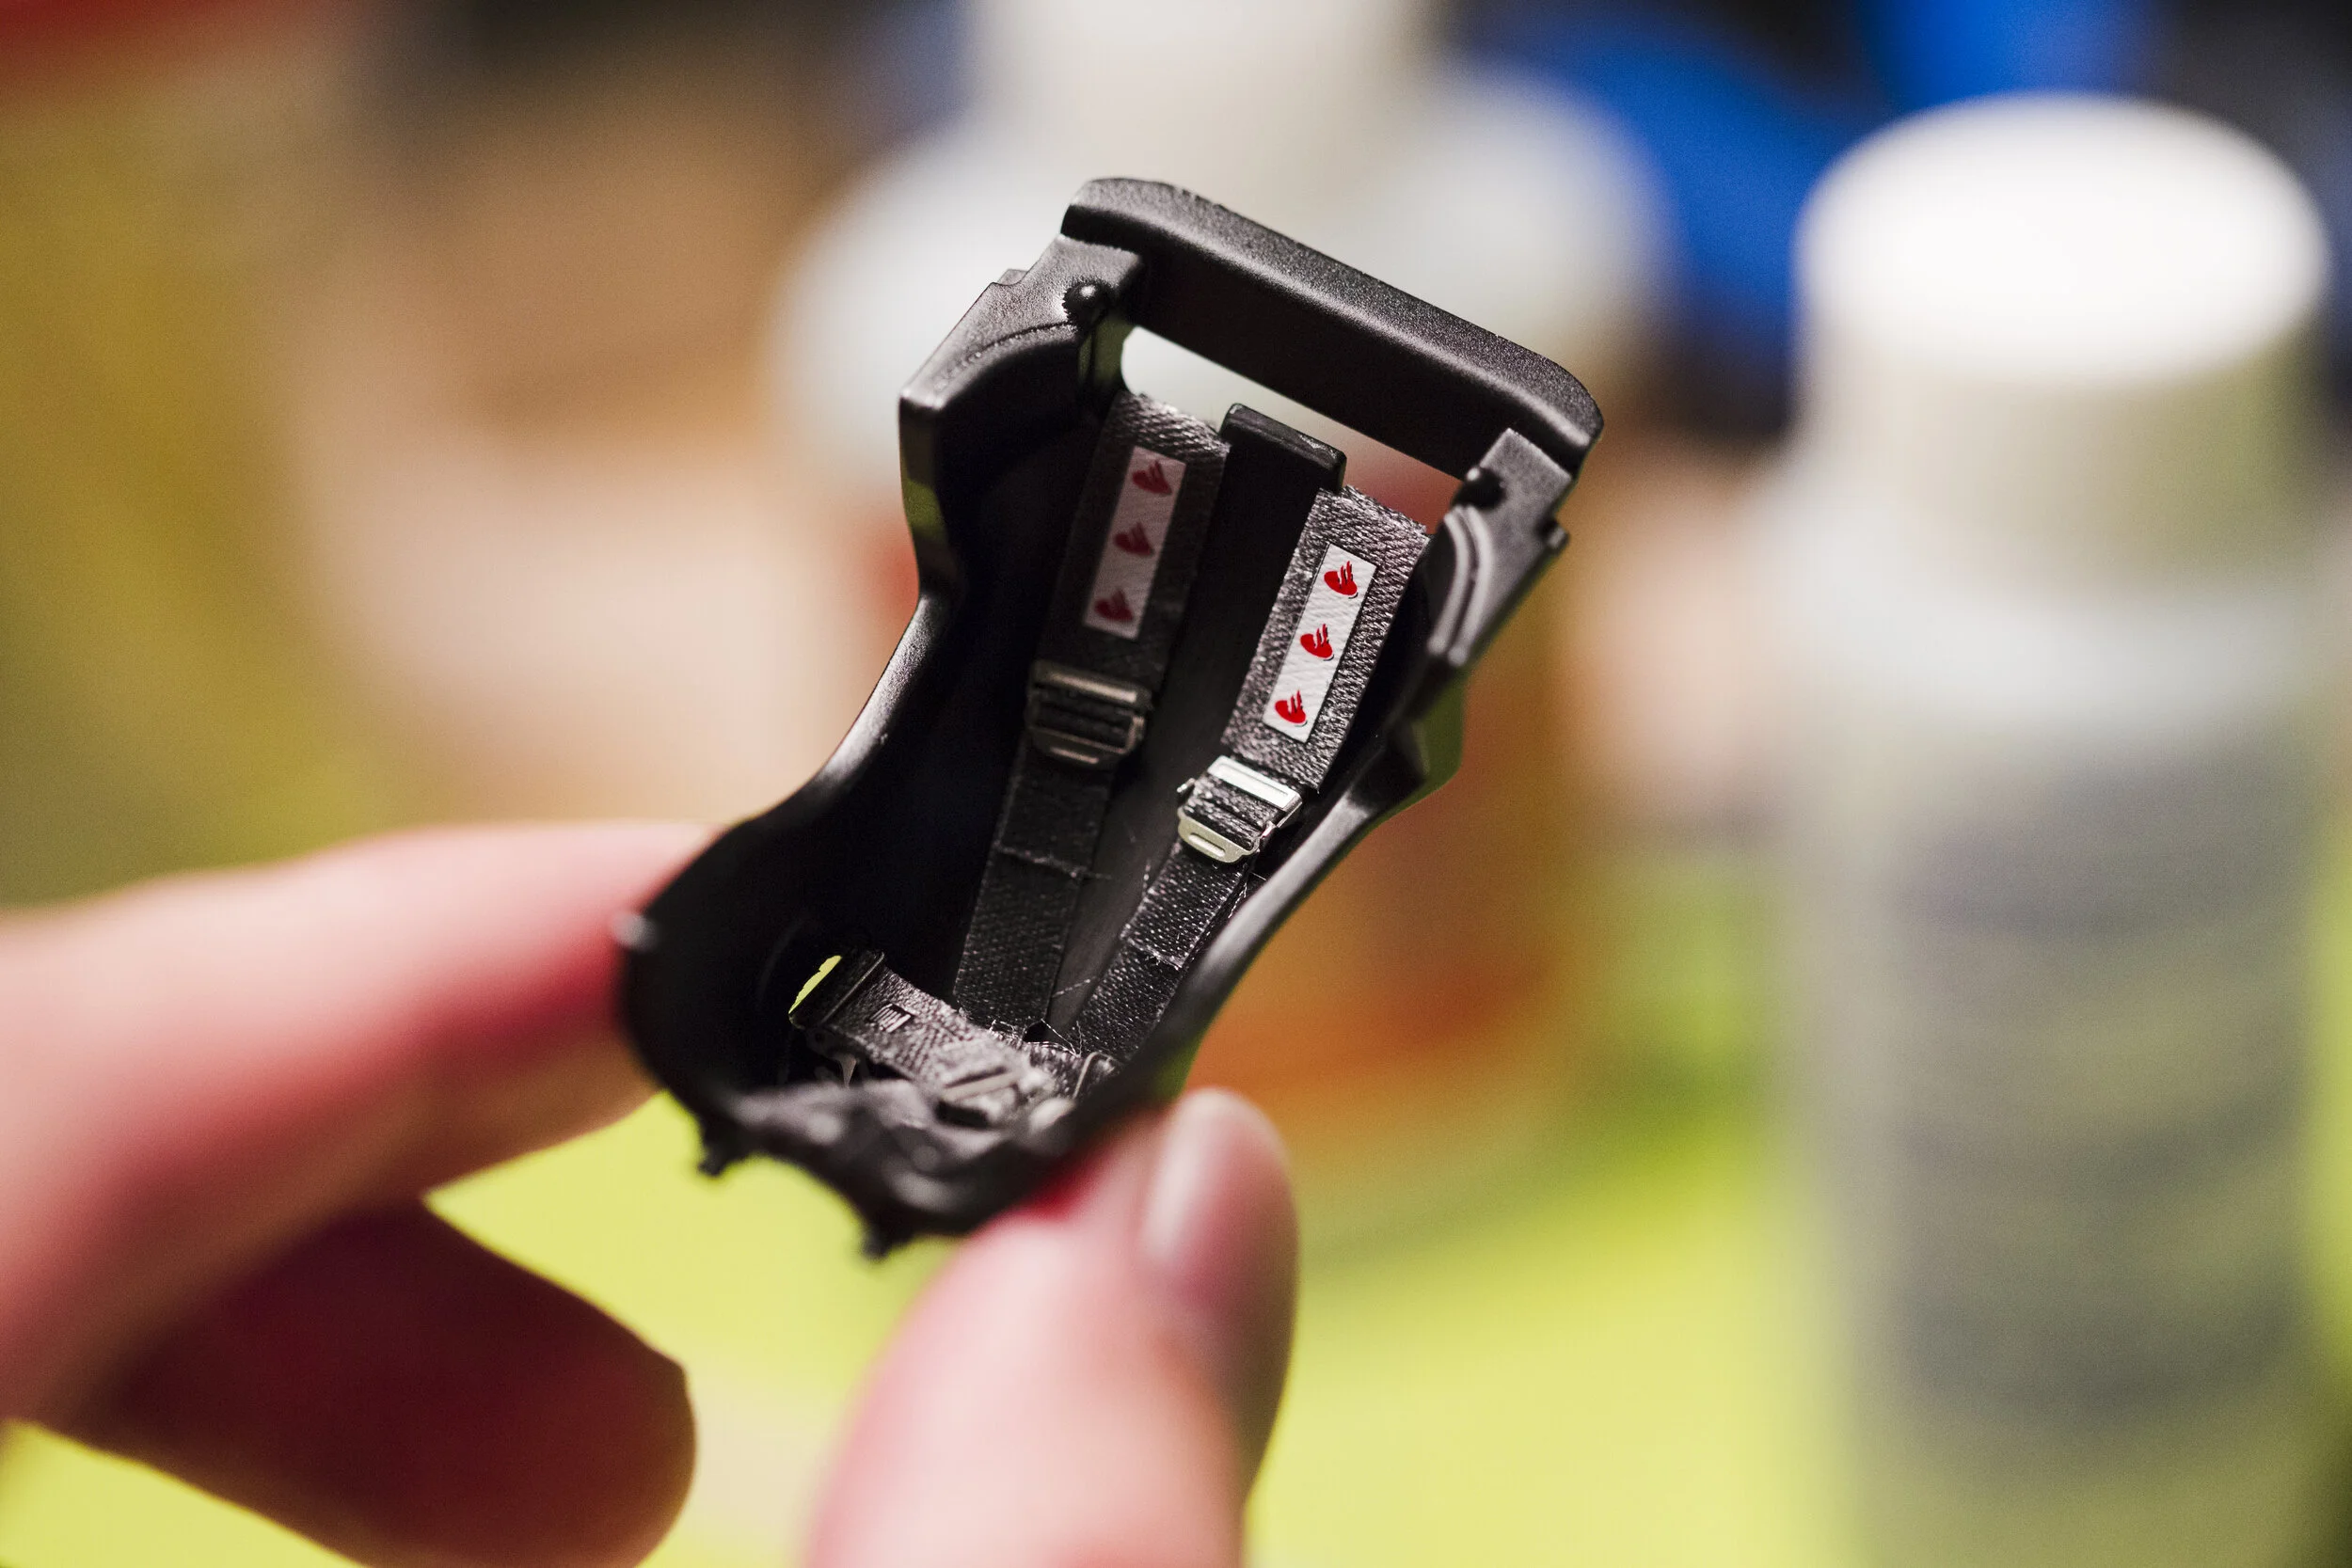
And that’s it! Click the image below to view the completed model gallery.