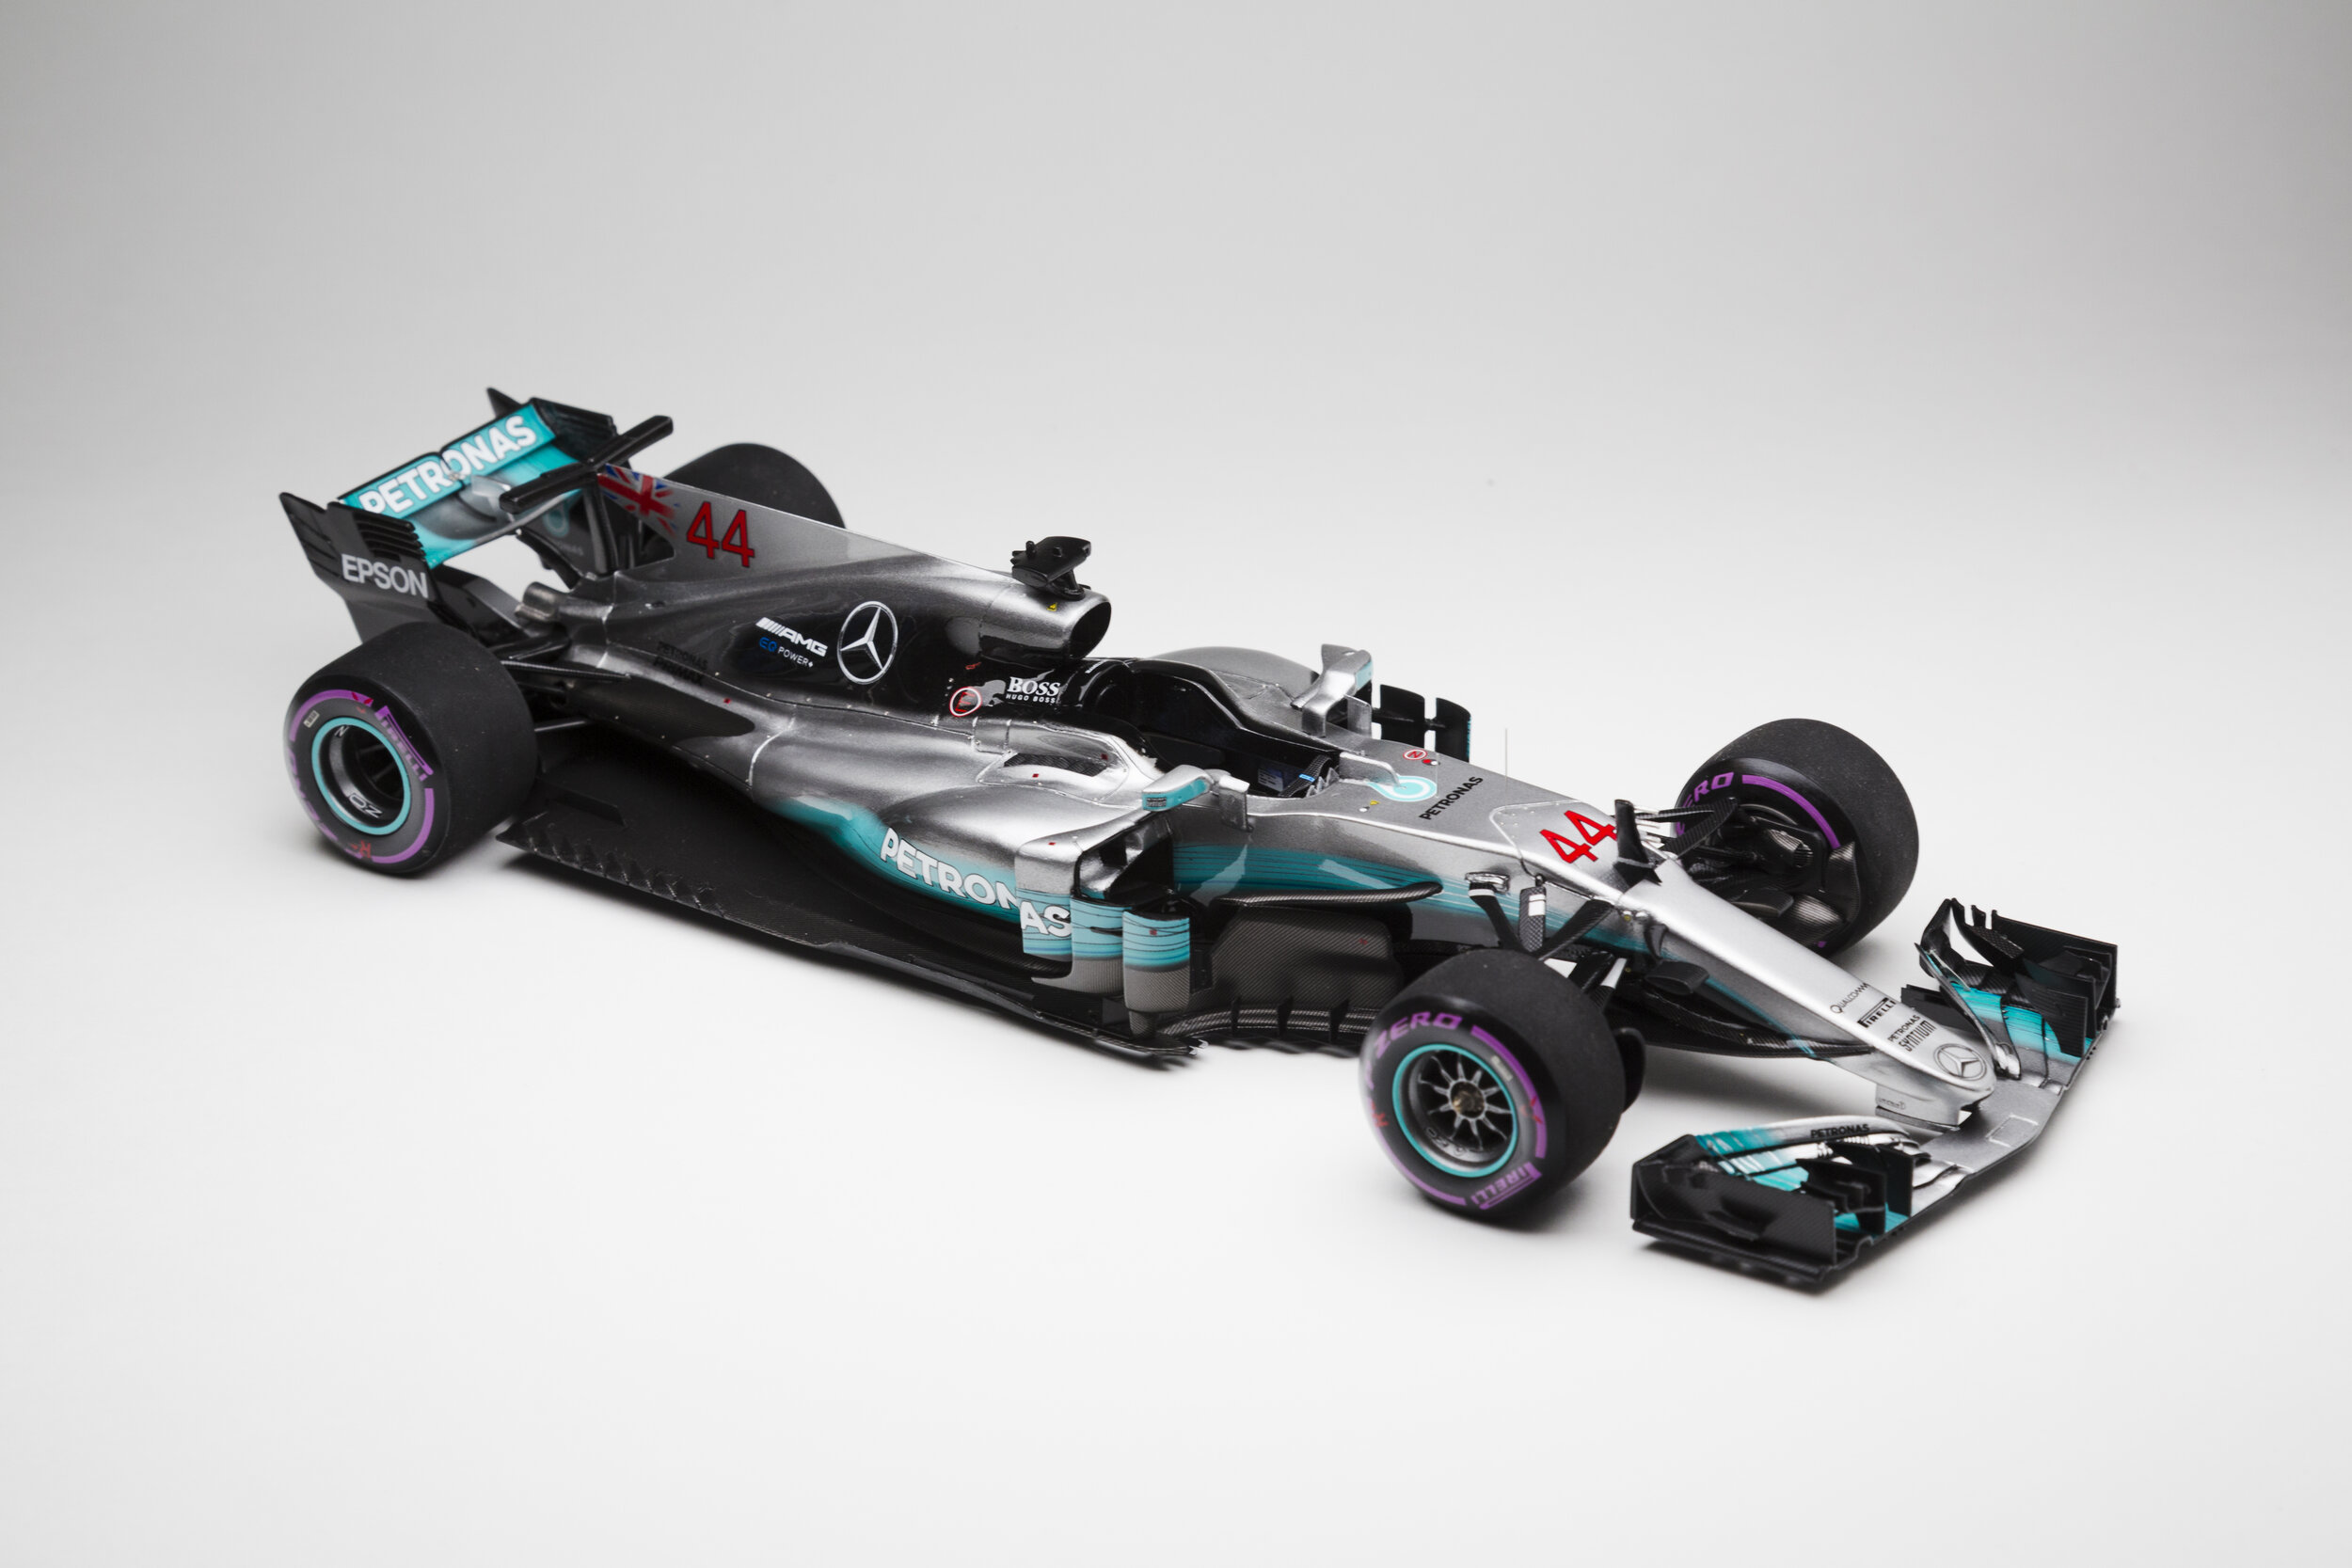
Monopost 1/20 Mercedes AMG F1 W08 Build
Monopost (Studio27) 1/20 multi-media kit.
This build was my first multimedia model kit which spanned March - May 2018. I have reposted the original WIP thread here
Weather is about to take a bad turn into deep winter so it'll be too cold to paint anything for a while. Might as well take this time to try my hand at multi-media kits that require a lot of prep-work. I decided to start this kit spontaneously. I'd always been crazy intimidated by it but I realized how dumb that was. What's the point of buying a kit only to be too afraid to start it?
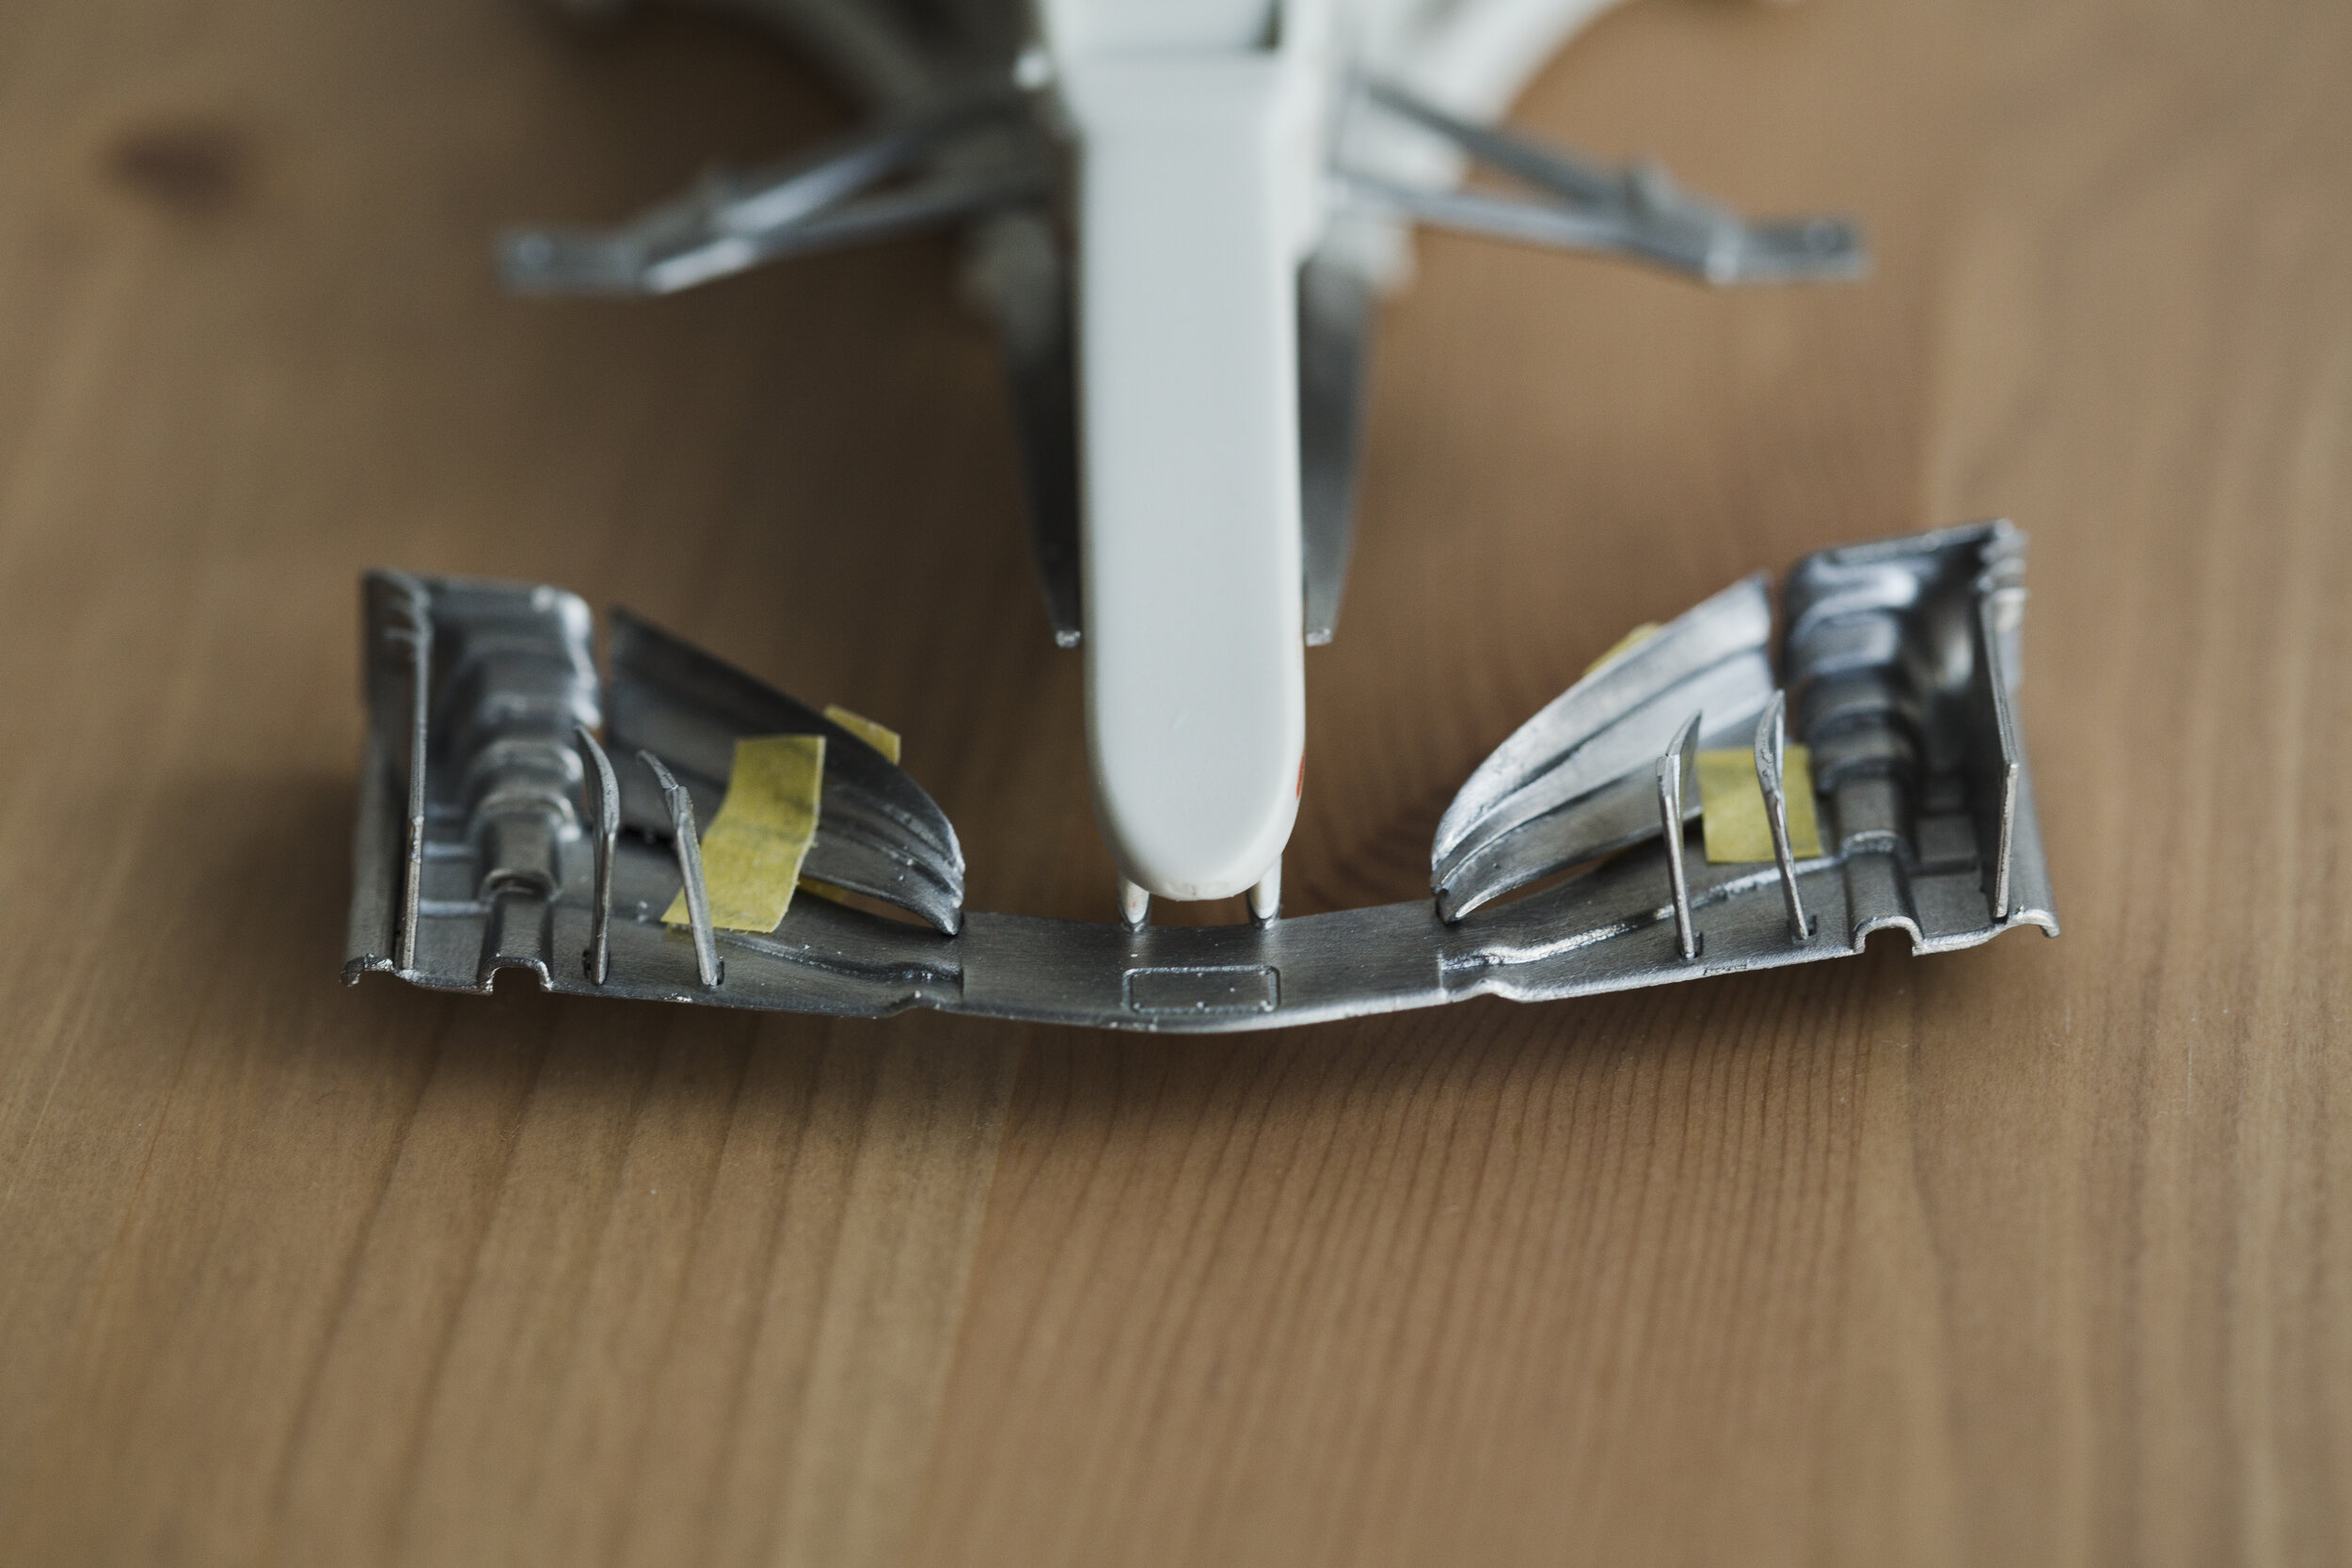
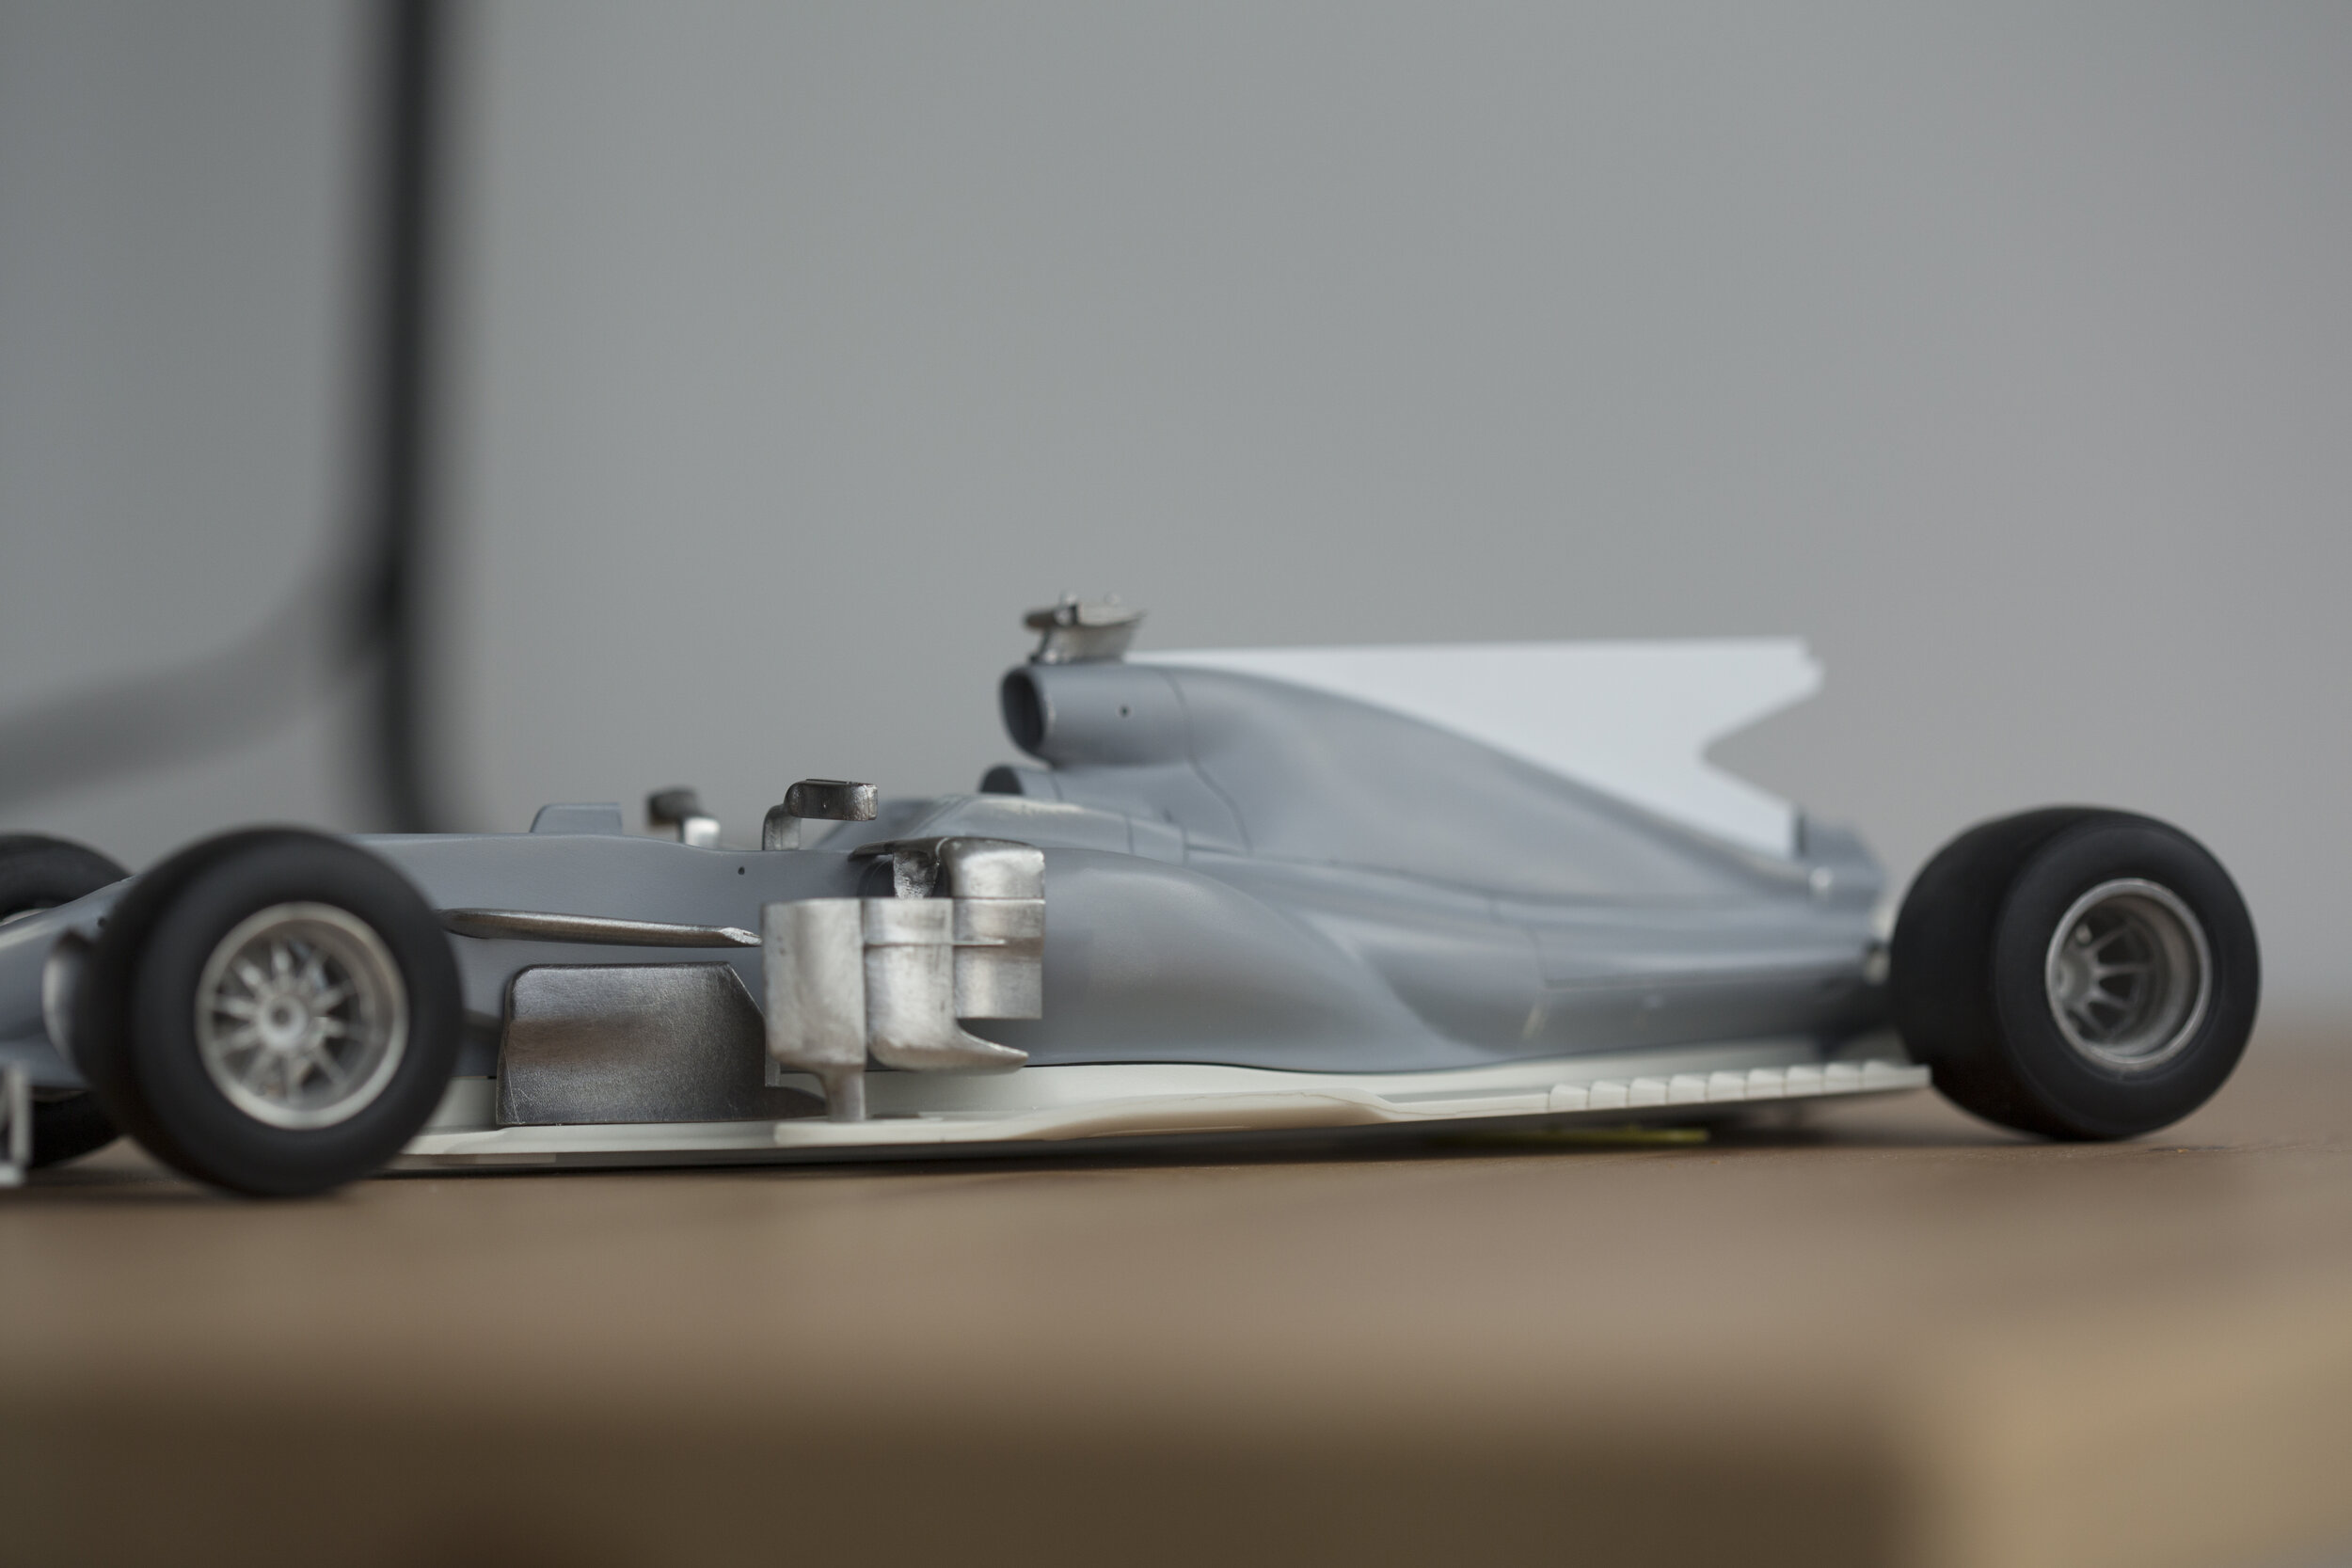
Anybody who knows this kit knows the most ridiculous "feature" of it: the absurdly thick shark fin. I pretty much chose the British GP version just so I wouldn't have to deal with the chimney stack. This would be the first thing to tackle.
I decided to make it out of sheet styrene since this is the only thing I really have access to. I'd rather have used some kind of metal but I'm not capable of producing that. Hopefully this decision doesn't come back to bite me. I started by tracing the desired shape of the sharkfin on a piece of masking tape I applied over the resin one. Then I cut it out of the styrene card.
Out comes the trusty PE saw.


I cut a little channel in the back as a guide for the fin to slip into, and also to hopefully give the epoxy glue something to grab onto without making a mess. You'll also notice in these pictures how lumpy the area behind the air intake looks. Bad mould. It'll need to be smoothed out.


The side air deflectors were very fragile and this one came broken. Pretty hard to fit back together but epoxy glue managed to fix it.
First major mockup after first round of putty. Shark fin isn't glued yet. I plan on using 2-part epoxy putty for the first time soon to fix the shape in some areas and to integrate the sharkfin onto the body, but I'll need to experiment a bit with it first to get. a feel for its properties. 2-part epoxy putty intimidates me for some reason.
Some other issues I've found so far:
Front wing angle is wrong and I haven't gotten to the bottom of what the root cause of this is yet.
Front suspension angles are pretty inaccurate. The two wishbones should be closer to parallel. I think it's because the front upright horn is positioned too high. I'm not sure if this is something I'll be able to correct though


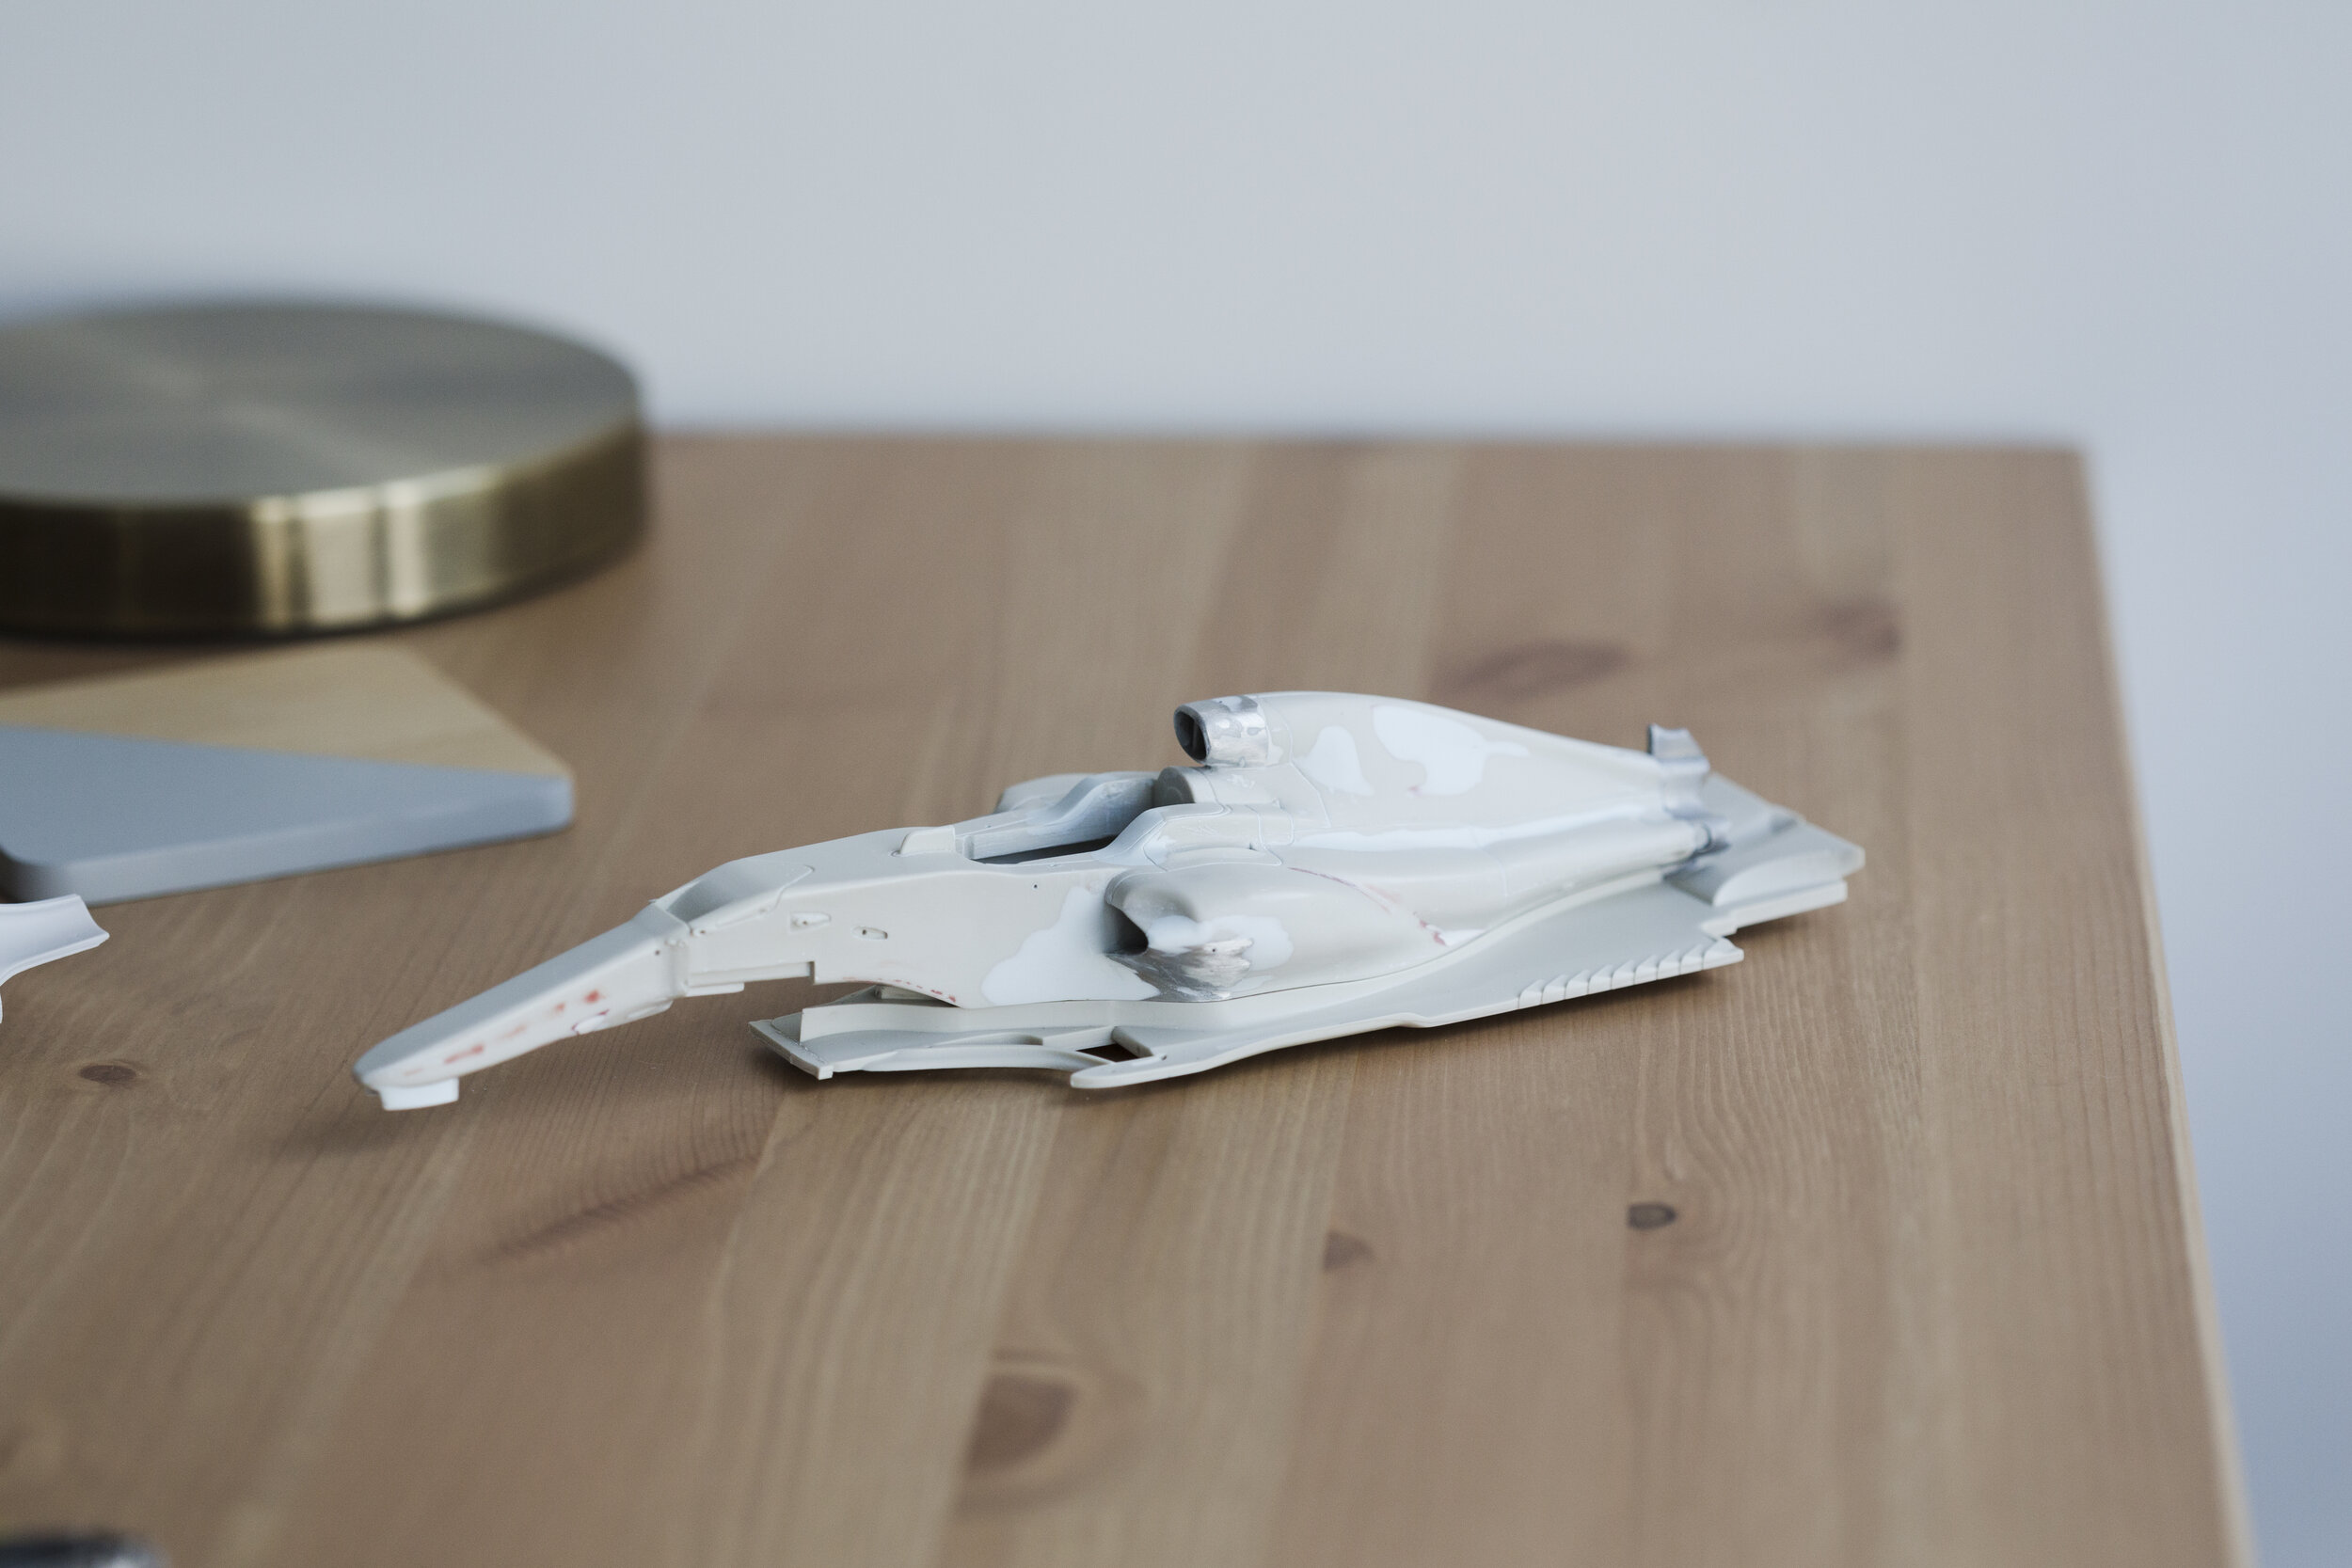
I tried my hand at shaping and sculpting with Milliput for the first time and I have to say it's actually a lot of fun. I used to think that the aspect of MM kits where you need to do a lot of correcting seemed tedious and repetitive but it's actually extremely satisfying for me. Still doing some learning on how Milliput behaves with water though but so far everything has been going well.
Initially I thought that the only issue with the nose was the front wing angle so I added some styrene to the wing mount to lengthen and shave down at an angle. Doing further research, I discovered that pretty much the whole nose is wrong. The nose is much more elongated than the real car, and as a result it overhangs too far.

The area underneath the nose also forms an indented channel??? The area underneath the nose is actually quite bulbous - I guess the modellers as Studio27/Monopost got fooled by the unpainted surface...
Truthfully, I'm not sure to what extent I can fix the nose but I'll try to the best of my abilities. I started by sanding down the tip of the nose a bit just to round it out more, and focused on the front wing mounts. It actually turned out pretty nicely.


I'm going to need to address the underside of the nose after I fix the cape to the body, since that needs to be blended too. There’s also an S-duct opening that was completely omitted from the model.
In the meantime, I smoothed out a lot of the rest of the body with epoxy putty. The real car is supposed to look extremely "fluid", imo a lot of the curves on this model are too sharp.


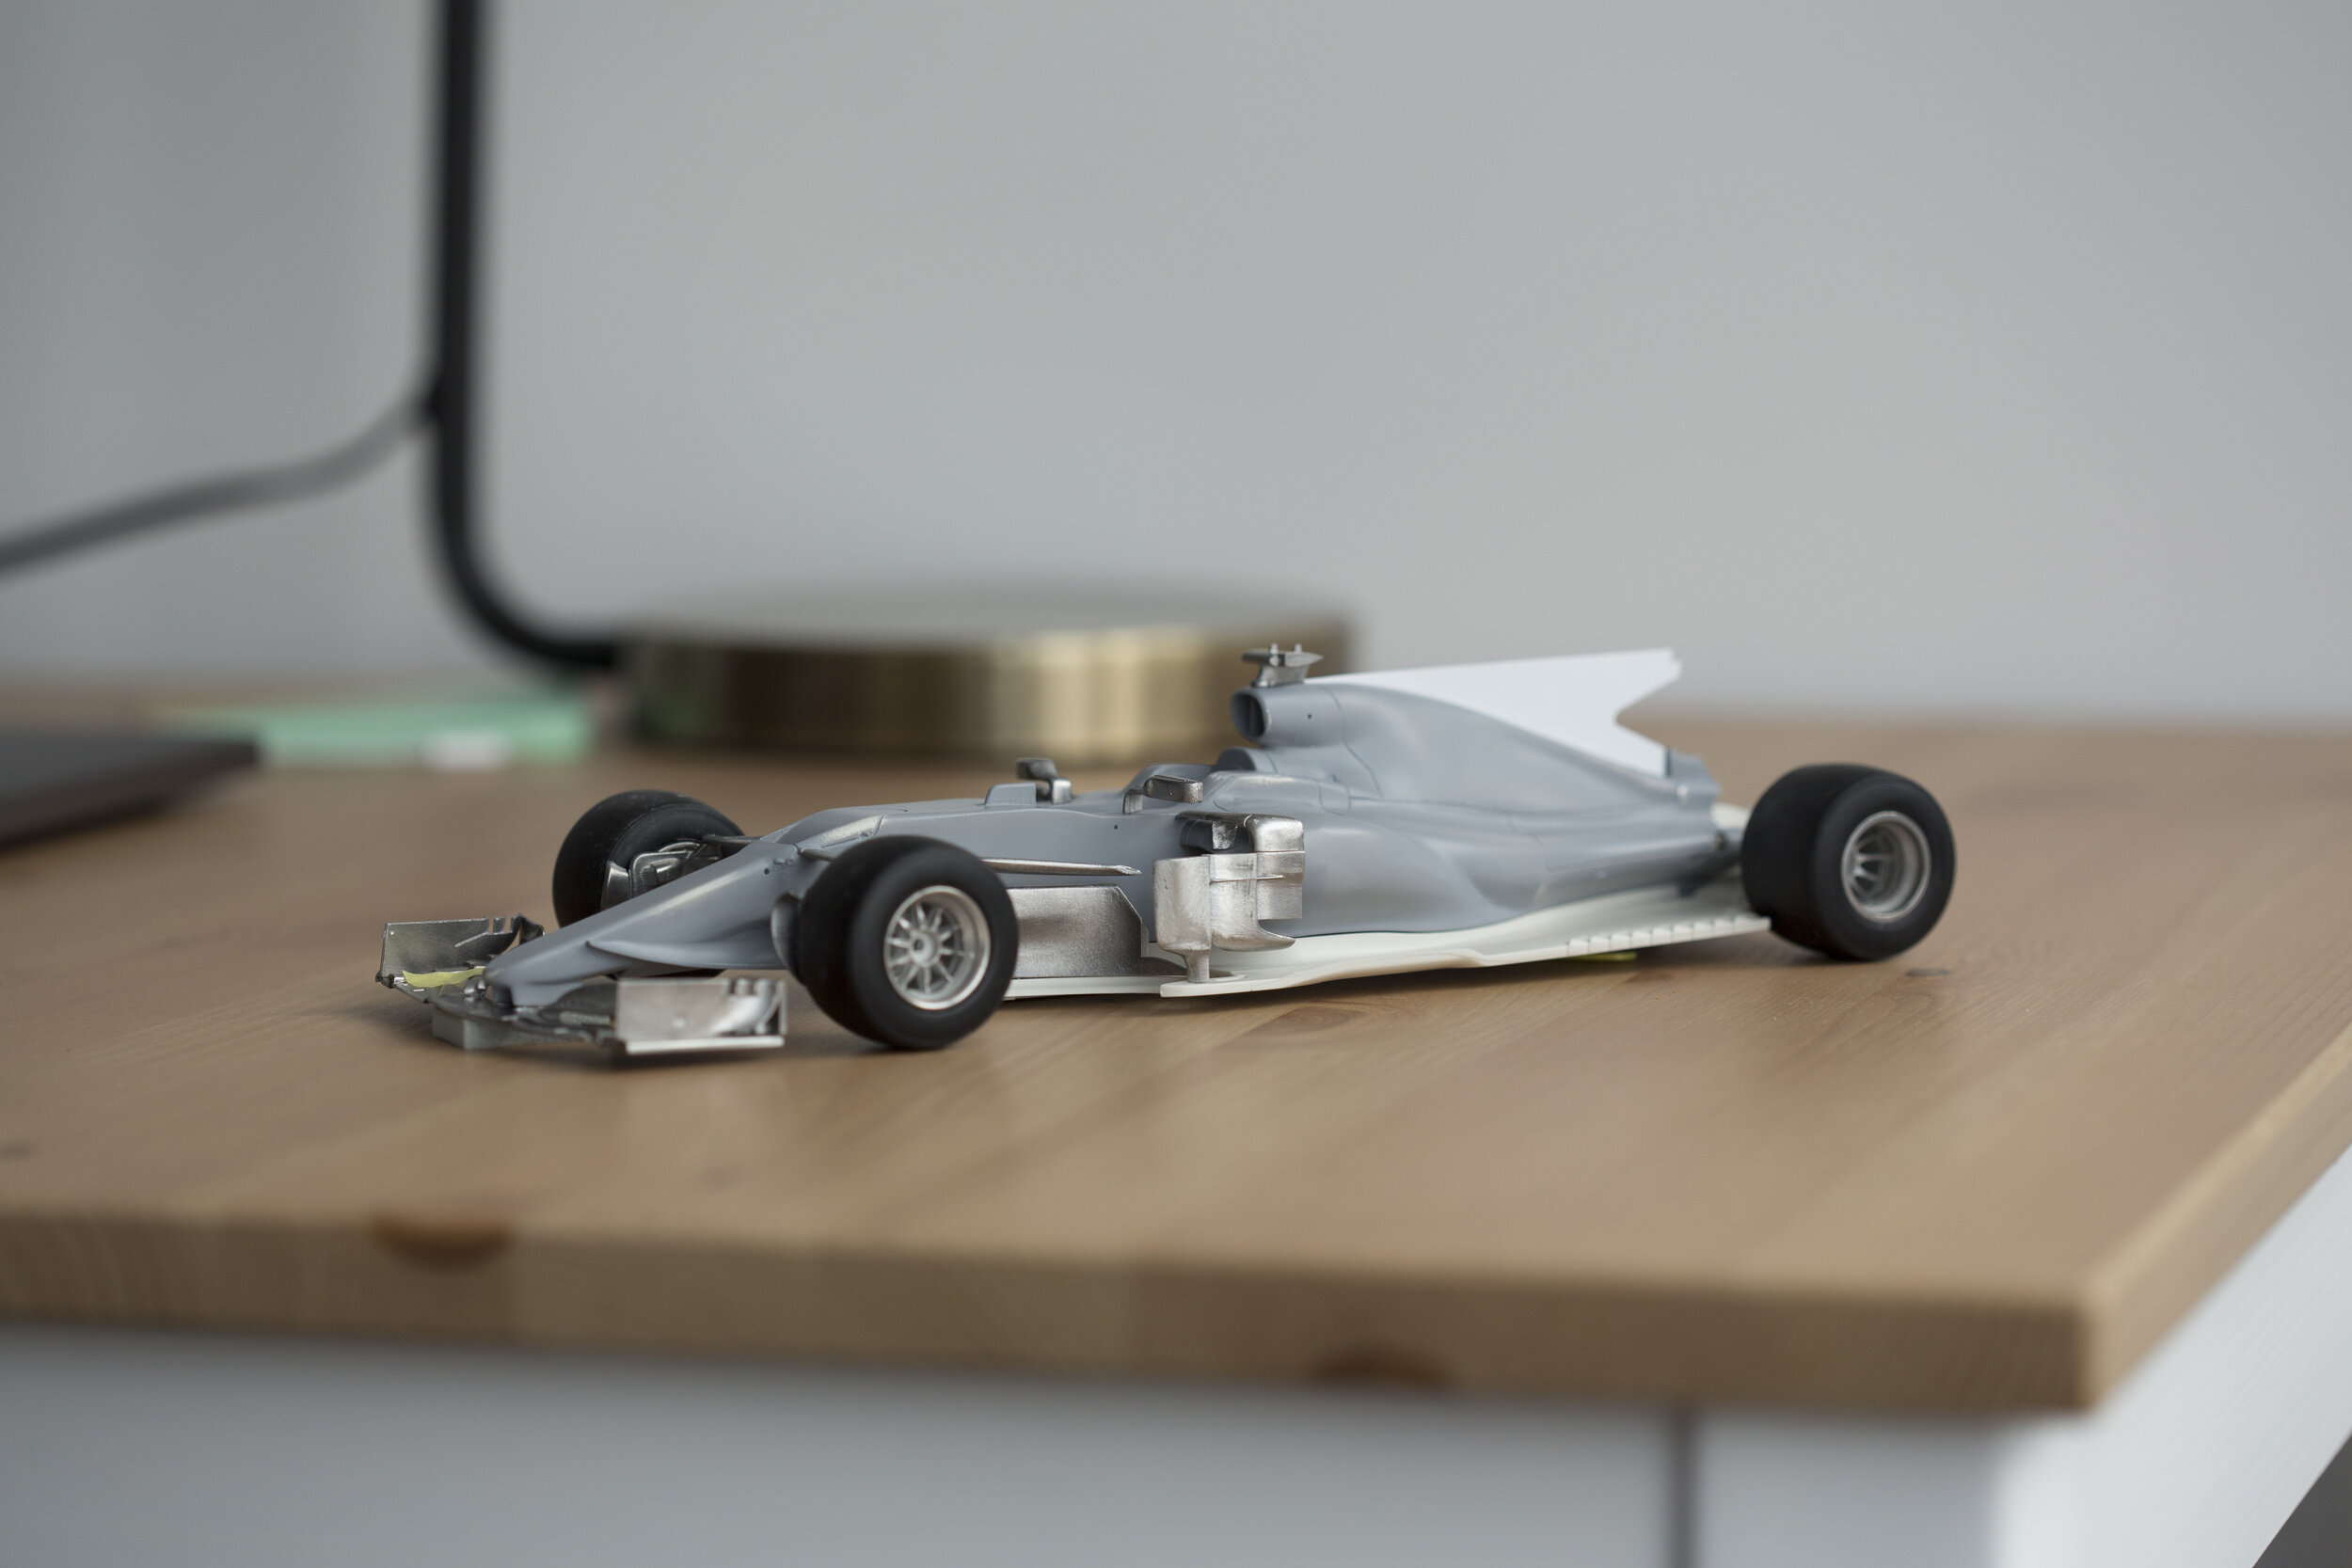
Worked on the underside of the nose, including cape, lower wishbones, and S-duct. The lower wishbones were attached now because the fit isn't too great so I'd like to blend it into the body. Access to the lower area between the cape and the suspension is pretty tight now as a result.
Going into the deep-end while learning how to use Milliput.
Added mass underneath the nose. It's not perfect by any stretch of imagination but it's just too hard to properly sculpt between the front wing pillars.


I made the S-duct opening with some styrene and blended it into the cape with putty. Also not perfect, but I'm okay with it just being there instead of missing.


So I was planning on attaching the shark-fin before priming, but with the realization that etch-primer doesn't stick to plastic at all I'll do it after the first layer or two of primer. In this way I can correct as many imperfections on the body as possible beforehand and this will hopefully lessen the chances of breaking the fin off by accident. Just as well, the grey primer revealed quite a few areas that need more work. Turns out feathering epoxy putty to get a smooth transition is harder than it looks.


On another note, the area where the nose meets the floor is completely wrong for the British GP spec. This wedge-styled area wasn't until later. It's supposed to meet much further back, behind the barge boards, with a little stick-thing that far forward. I briefly considered changing it but you know what, I've been pretty ambitious with my first MM kit already and I'll let this slide.
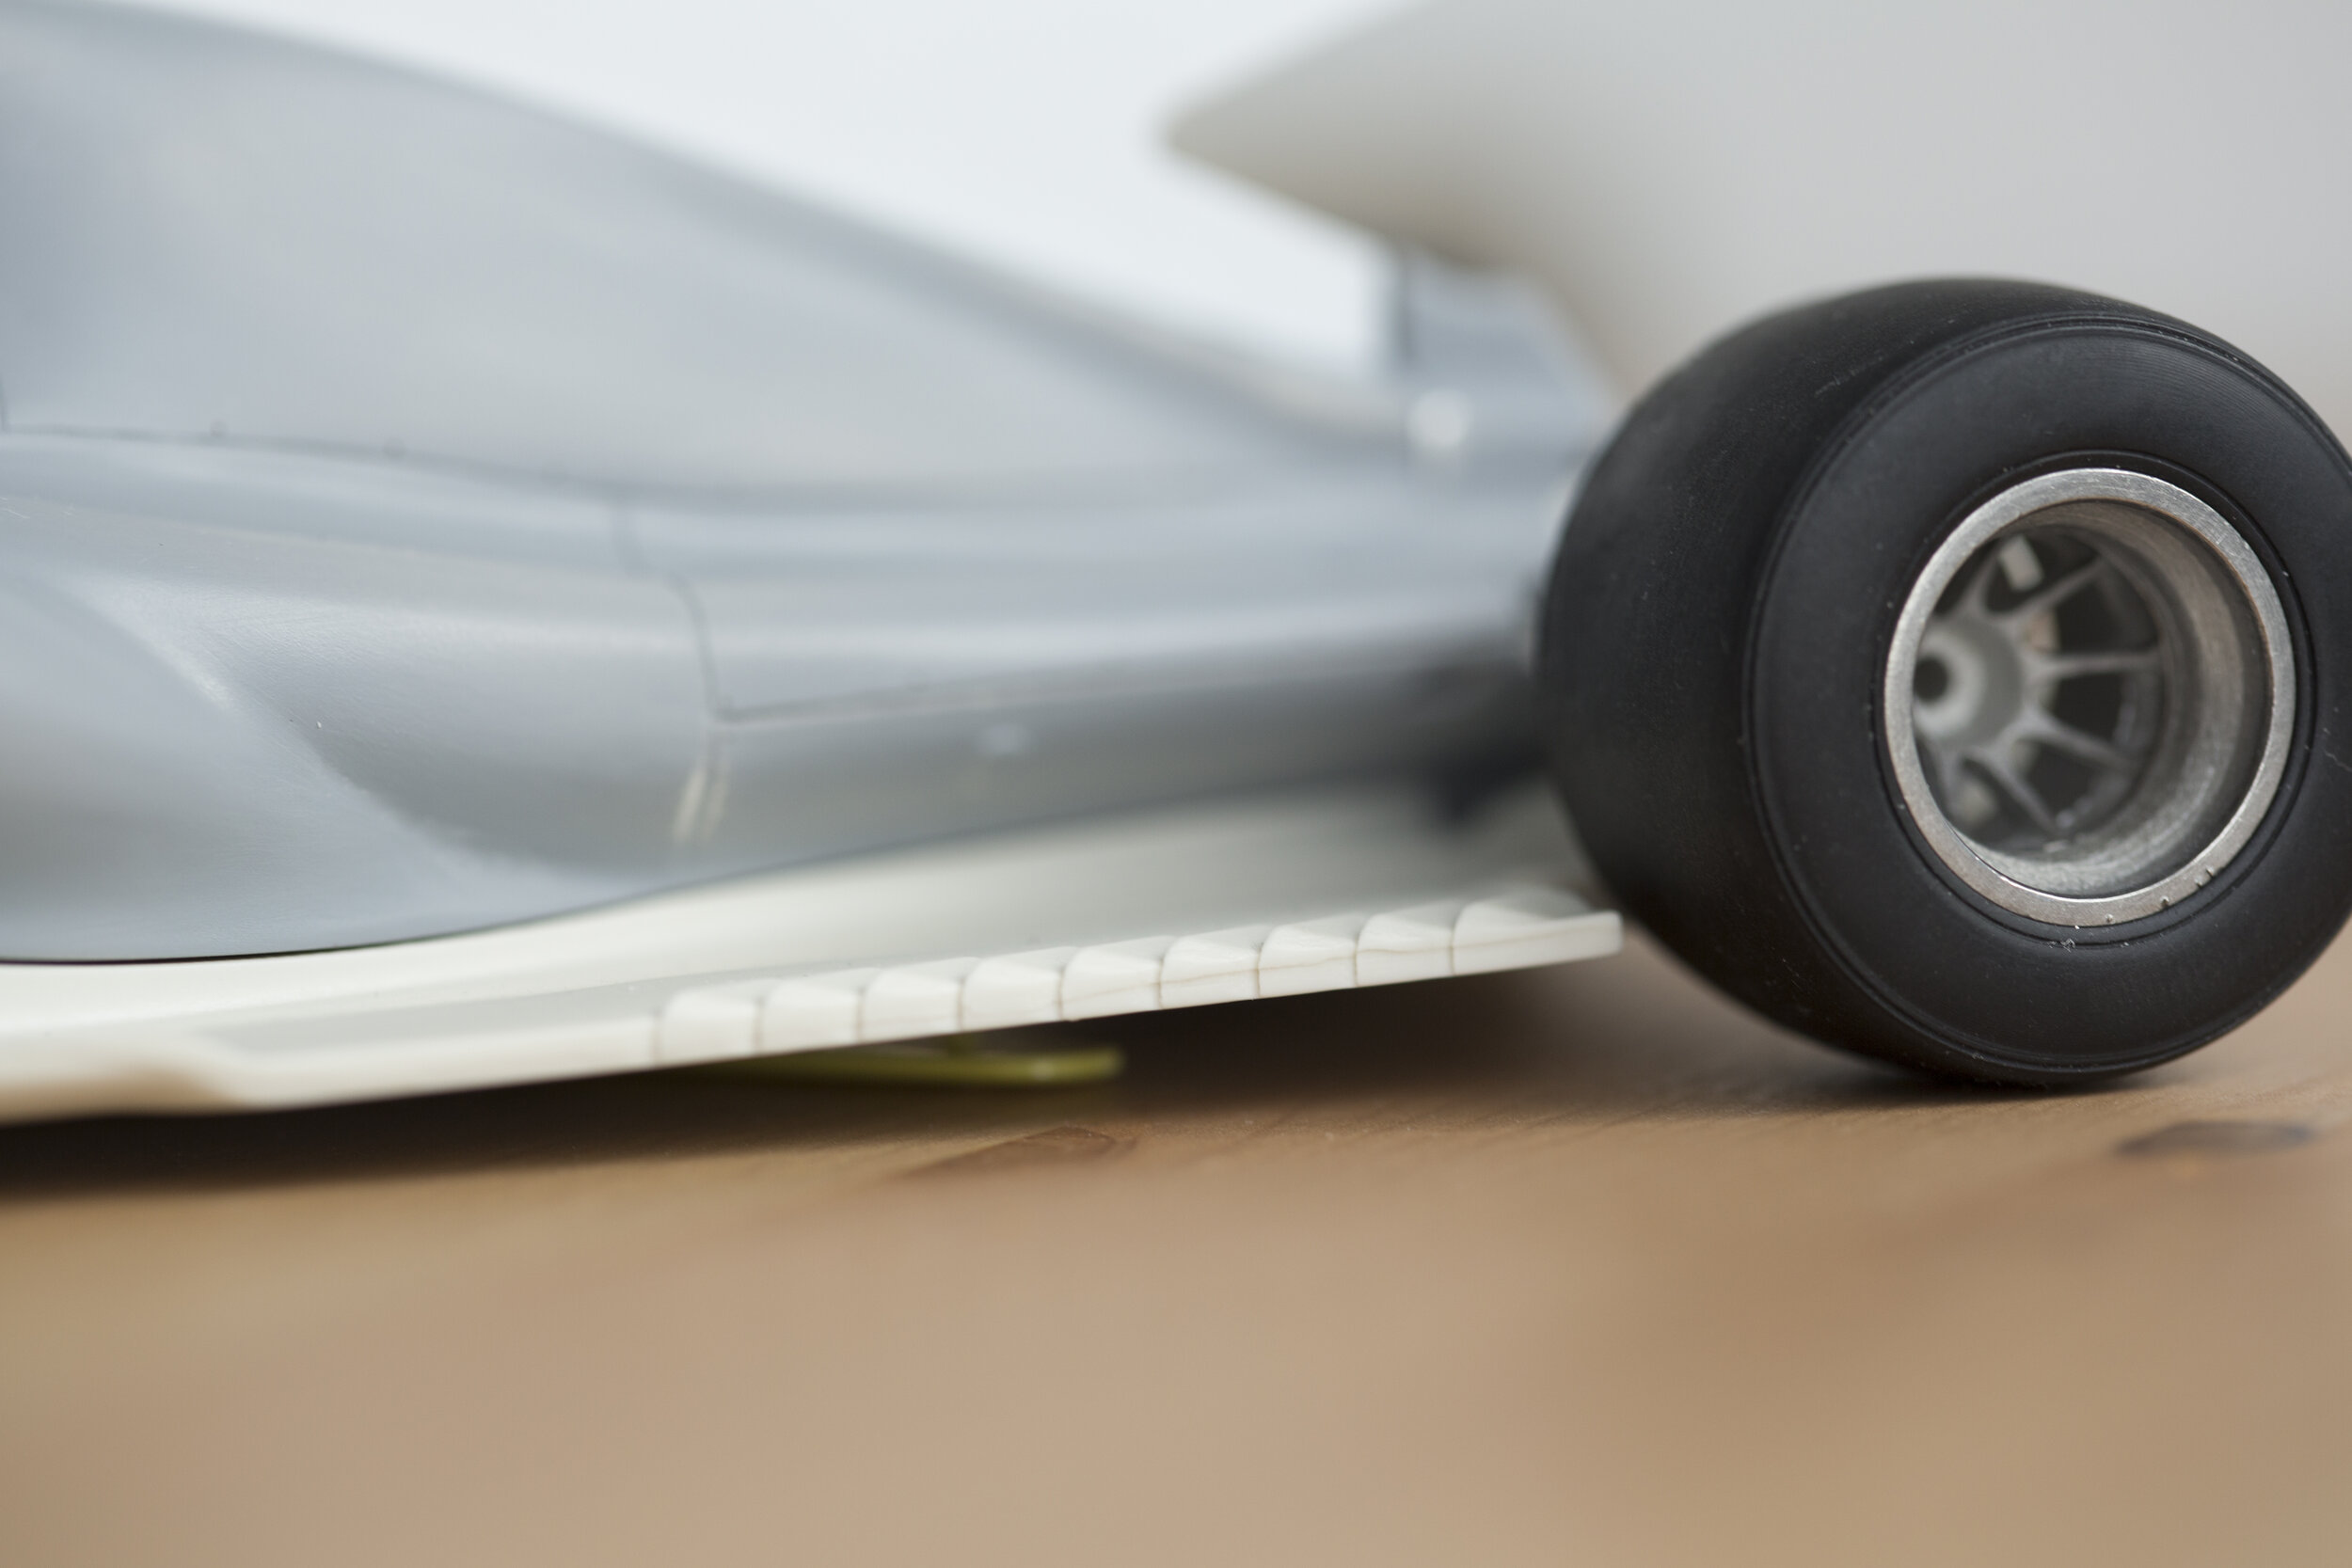
Ride height is interesting because the floor is so freaking thick, I think the front of the floor just has to sit on the ground. I think the front suspension arm angles can be lowered a bit and this might bring the wishbones closer to parallel.
For my next steps I gotta clean up the body more until I can then attach and blend the shark-fin into the body. I also need to figure out the rear-wing and rear suspension fit. The way the end-plates attach to the floor and interact with the rear suspension is quite complex and doesn't really play well as-is.
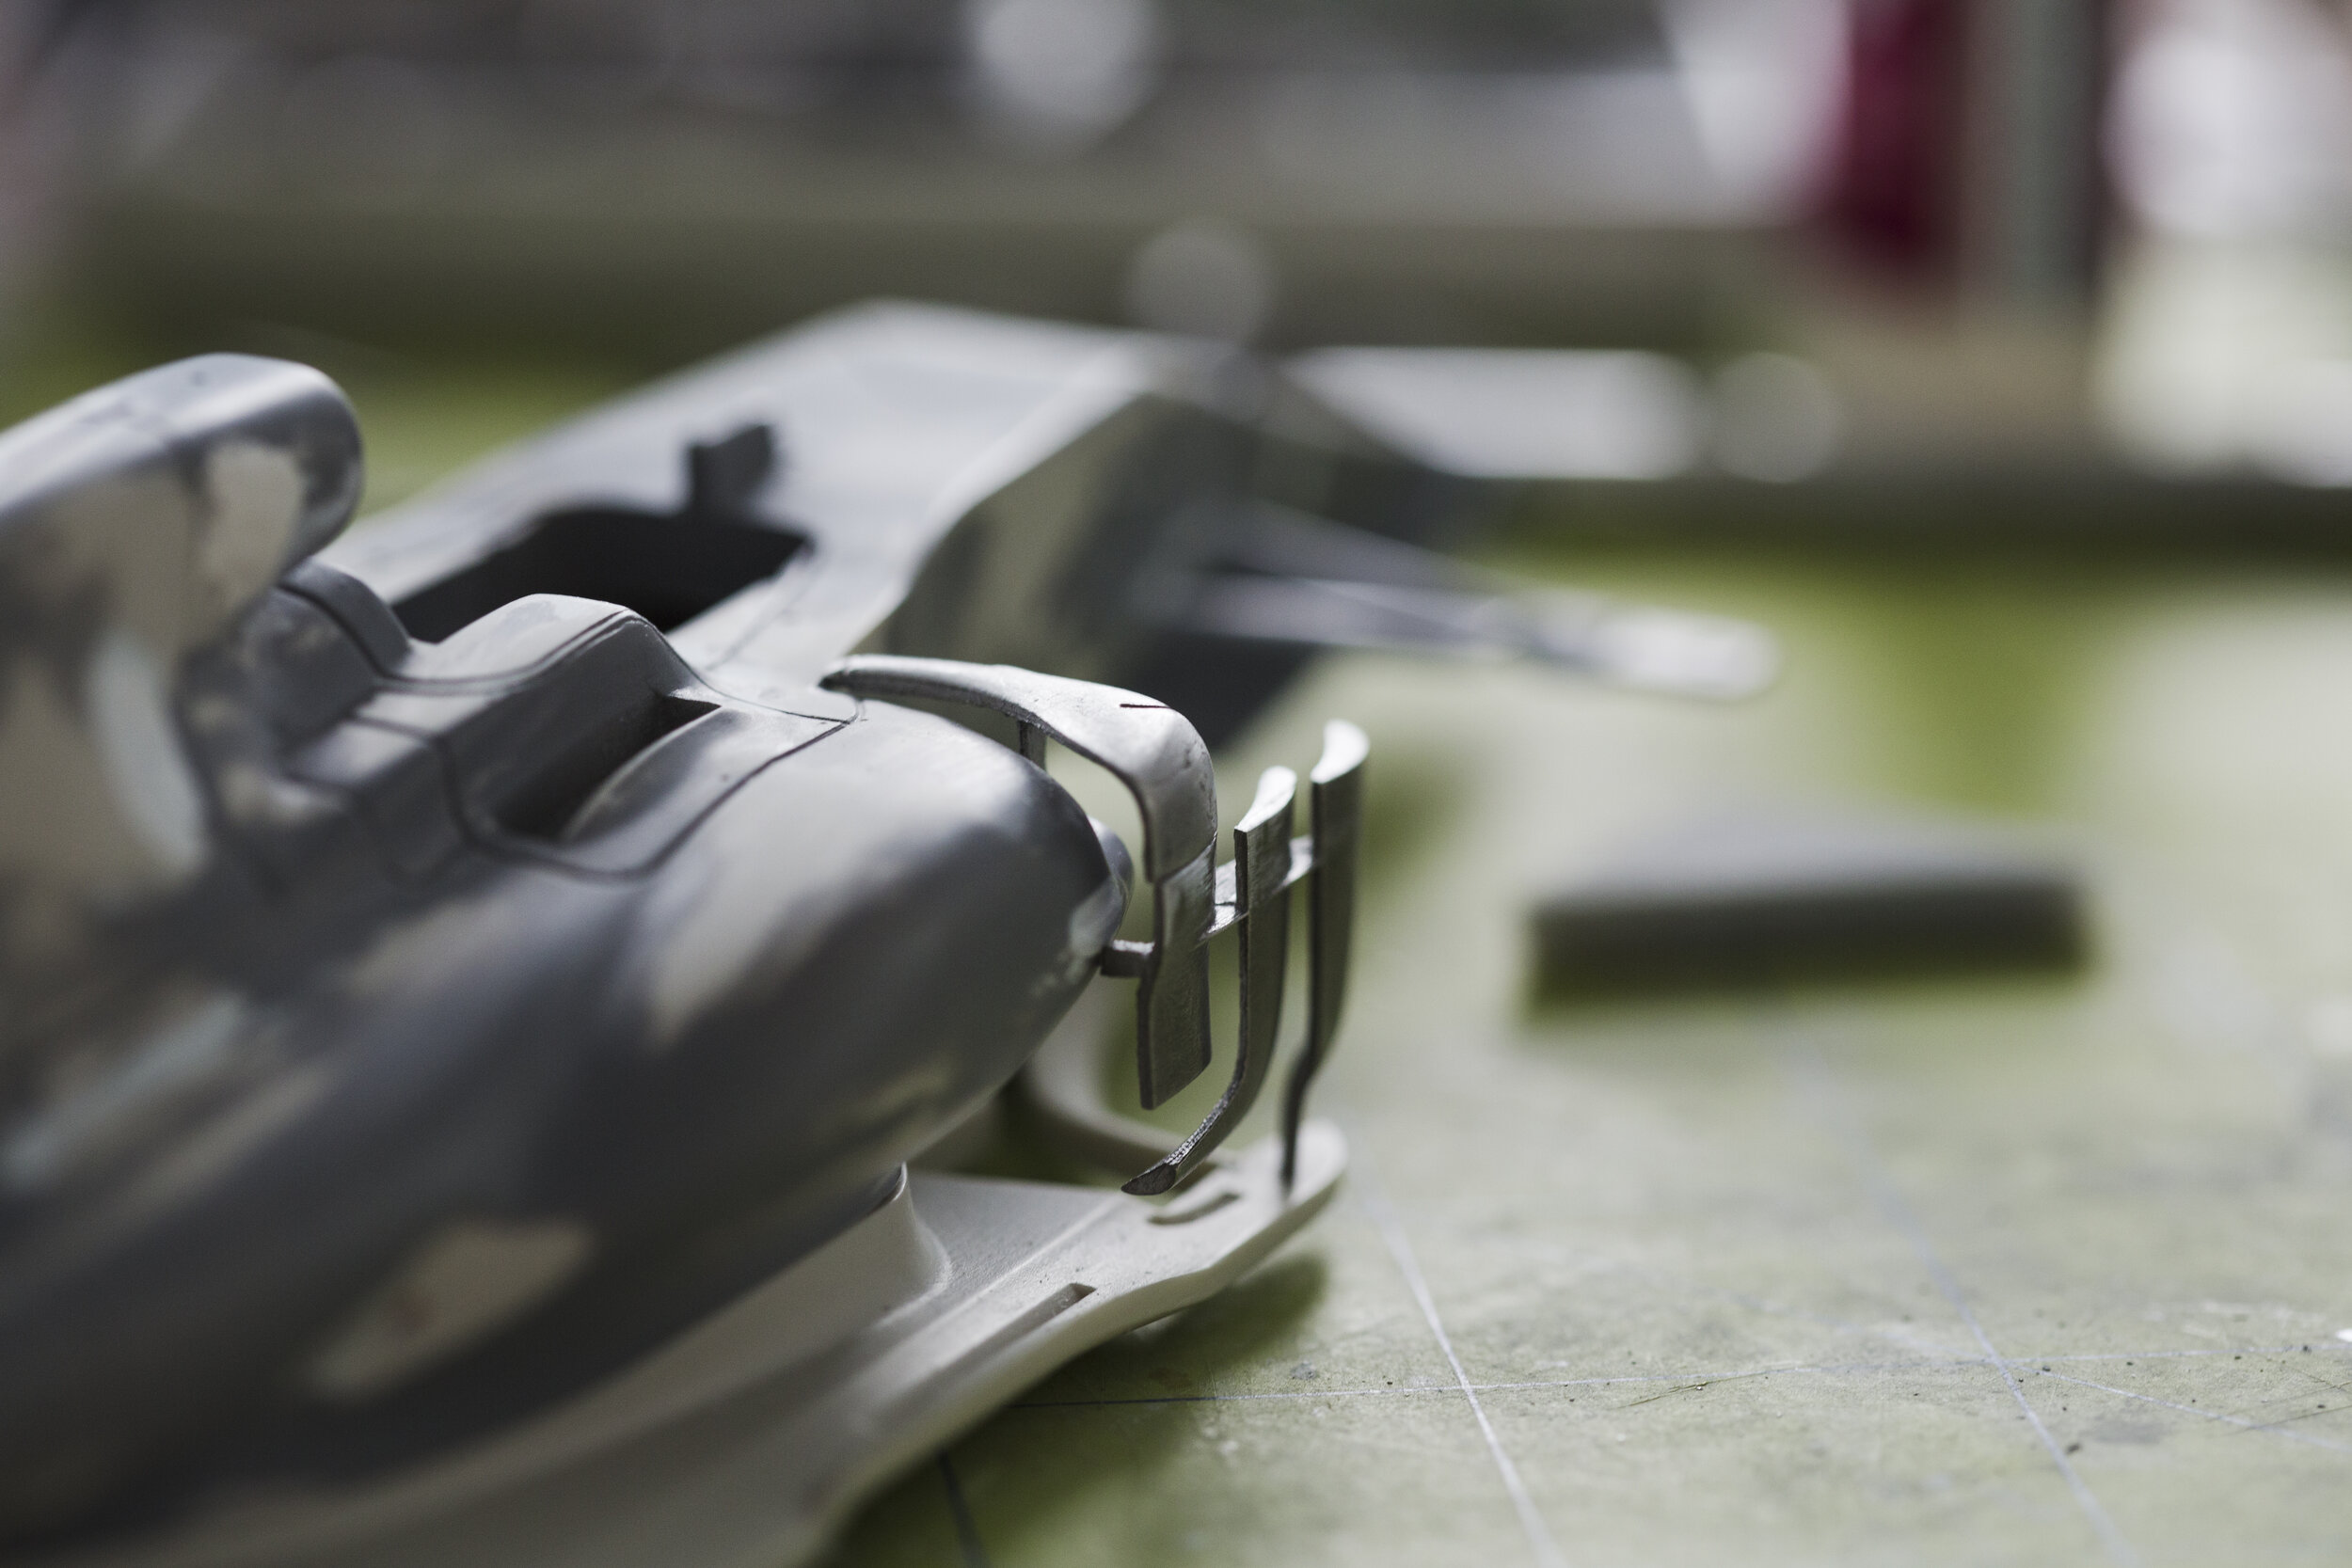
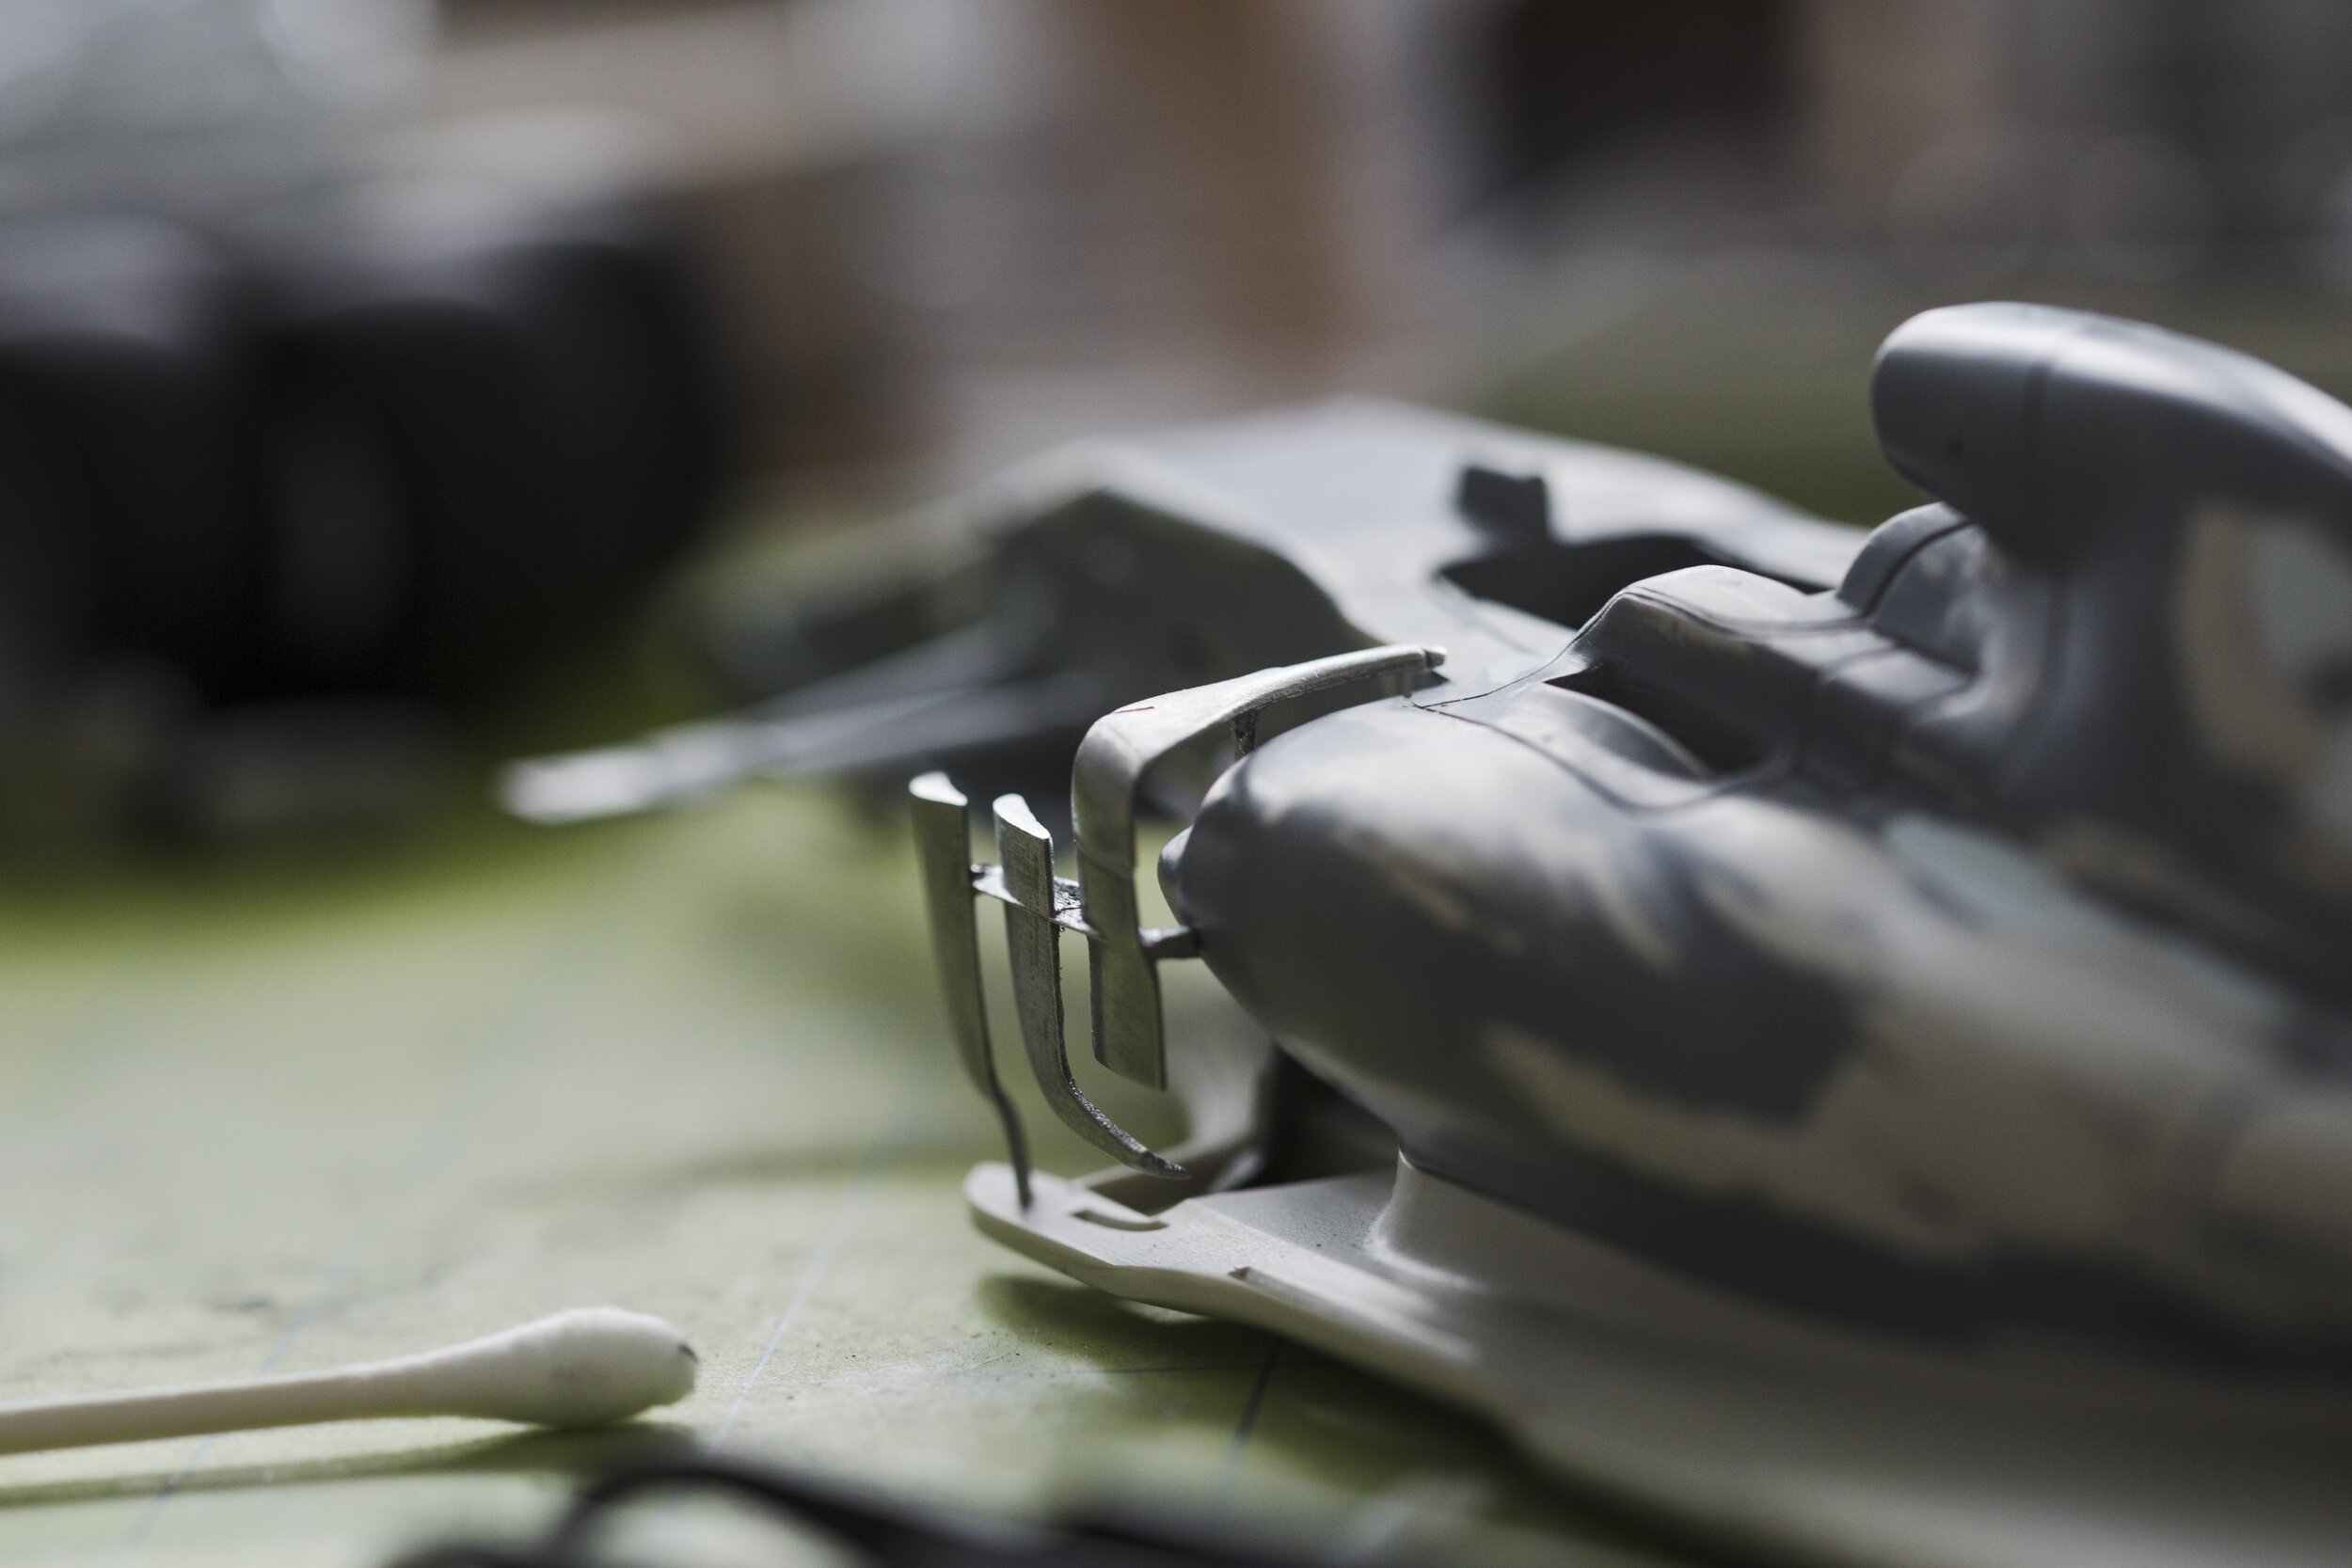
After last update I started working on the white metal parts. Long story short I discovered I hate working with white metal.
Thinned the sidepod airflow conditioners with the side of a hobby knife. This is a must-do imo, in real life they're supposed to look like thin blades. Left is before, right is after.
The bargeboard is also quite wrong so I thinned and shaped it by filing and carving away at it. Original left, modified right.
Few more rounds of sanding and filling.
Finally attached the shark-fin. Held quite well with epoxy glue, but unfortunately the first time I tried blending it into the body with epoxy putty, I accidentally detached it. Second time around I was more careful and I have to say the end-result is MUCH more sturdy than I could ever have hoped for! I don't think I have to worry about it every breaking out, it can probably even withstand small drops. Pretty happy with how it looks as well. The way it blends with the T-wing mount isn't totally accurate but it's passable by my standards. I also applied the final coat of primer.


Gave the model a black-base in preparation for the silver paint. Used Tamiya TS-29 for the body and Zero Paints SG Black for the small parts.
Masked off parts to remain black.
Black base is critical for a good silver I think. End result looks reaaaaally good. I had to go back and fill in some areas around the front suspension and airbox where I realized the decals wouldn’t cover though.


Yesterday my latest modelling haul came in, just in time: CF decals and 4 sets of spare Tamiya SF70H tyres.
The Tamiya tyres are soooo much more accurate than the S27 and MFH, especially the profile. Sidewalls looks way too thin on the S27 and MFH ones. I was making a gamble to assume that the rims would fit in the Tamiya tyres, and thankfully they did. It'll end up making a big difference on the final model.
Left is Tamiya, right is S27.


Anyways with the arrival of the CF decals I could start really getting into things. I've never really made my own templates or used SMS decals and I gotta say I'm not a big fan of the process, although it is less difficult than I thought it would be. I've been tracing templates only on one side, scanning them, tracing them digitally, and mirroring them.


I can't think of many things more disappointing than areas in the kit decals that are black instead of CF, when CF decals are included elsewhere in the kit. There's a small black strip where the blue stripe transitions to CF, but this is present on the actual car.
Here I am now:
Kit decals are okay to manipulate, but the actual design is...not great.
I was very surprised that this managed to conform without any wrinkles on this side...
...but of course I couldn't replicate it on the other side leaving some small wrinkles. Oh well.
If you're going to do this kit, make sure to put the "airbrushed" black decal on the head rest first before placing the black on the sides of the air intake. I was a "fool" who thought he could simply line up the side decals with the panel lines they were designed to line up with and found that it didn't all go together too well. I might try some advanced airbrushing later to remedy this.
Also please look at how these two decals line up on the side:
Come on Studio27... you could've designed the stripes to line up to SOME extent at least... Also there are some small gaps as you can see. I'll have to fill those in.
The cape was no small task to CF but it turned out well.
Also CF'd in and around the side intake. Note the black stripe decal on the sidepod airflow conditioner, another example of S27 including a black decal instead of printing it as CF.
Really enjoy the colour of SMS CF decals. The slightly brown tint looks very accurate.


I tried being really careful to not leave any drops of micro-sol sitting on the surface while applying it, but missed two spots. These unfortunate damaged the silver paint. Hopefully I can just re-spray silver and it'll correct itself, fingers crossed.
Here's a mockup.
Side-by-side with 1/20 Tamiya SF70H indicates that everything is scaled correctly.


Next I'll have to start working on the floor which I've been putting off since the beginning. Sigh. I don't think I'll do much other than taper the edges on the side to give the appearance of a thinner floor. I'm not even going to bother with the rear because whoever designed it was clearly making some kind of sick joke. Look at how thick that is!
I started tapering the edges of the thick floor to the point where you'd be fooled looking from the side.


Many many decals applied, including all CF decals included in the kit.
I also repaired the ill-fitting head rest decal by filling the surrounding area with paint. Looks a bit better now. I had another issue with 2K lifting that was applied over decals, similar to what I experienced on my Lotus 102D. Not sure how to avoid that in the future. It was repaired by the final 2K coat later without issue thankfully.


One odd thing about my model - in a few areas where parts were bonded with epoxy glue and blended with epoxy putty, there's been some odd white buildup appearing. It started before I painted, continued after I painted, continued after I applied decals, even broke through the surface of a decal at one point. It could easily be cleaned away with water. It seemed to have stopped after applying 2K though. If somebbody knows what this is, I'd love to know.
Another thing I'm curious about that I haven't seen people mention: I've noticed small hairline cracks appearing in areas where white metal was blended into resin with epoxy putty. I know epoxy putty isn't supposed to shrink over time, so I think they started appearing after exposure to heat? Either from soaking in lukewarm water before painting or using a hair dryer to apply decals, I'm assuming it's because the metal, epoxy, and resin expand at different rates when exposed to heat, and the contraction then leaves then creates hairline cracks? Sorry don't have any pictures right now though, but I noticed before priming stage.
Anyways, after applying all sponsor decals, yesterday I applied the final coat of 2K and it went on brilliantly. I like the effect of gloss over metallic silver, it kind of looks semi-gloss at some angles because of the metallic flakes, but when there is bright light you can see reflections in the glass-like surface.


This is an update consisting of the wheels and tires I did back in March but never posted, and continuing decal work on the floor.
The blue rim decals conformed very nicely (to my great surprise), however of course they didn't extend all the way around... I later touched it up with some Leyton House paint and a brush. Not a perfect match but it'll pass.
In previous updates I talked about how awful the pre-printed MFH Pirellis are, as well as how poor the shape of S27 tires are. I think this picture really illustrates how much worse the included SF71H tires are.
This week I finished up CF decals on the floor. I'd done 90% of it back in May so I've just been easing myself back in. Lots of different shapes and CF directions. Again, my first time templating and cutting out CF decals myself, and it's a looooot of work. I genuinely don't enjoy doing it but the results are worth it.


I had a moment of panic when I opened a new bottle of liquid CA glue, which promptly exploded/squirted onto the floor. I had a minor panic attack and thought I'd set myself back hours of work, but miraculously it only landed on one panel of CF. Only took my about 15 minutes to remove the damaged decal and replace it.
Things I did not pictured:
Painted sidewalls of Pirellis
Placed rivets on the body
Alclad light sheen on most CF parts
Made the race harness
Cut the windshield
PE everywhere
Final assembly was easier in some senses and harder in others. The rear suspension was a bit of a nightmare to assemble, but things like the front and rear wings went together much easier than I'd expected, especially the rear wing. Photo etch details were largely a nightmare to attach.
Anyways, after a lot of hard work and sweat, I can't believe my first MM kit is complete!
I started it last winter and it's crazy when I go back in this thread and look at how this kit started. There are some aspects I wish I'd been able to do better, but realistically I don't think I could have expected any better from myself.
Thanks for following everyone! Check out the Gallery or click the image below to view pictures of the completed model.